01
Download the Binance app
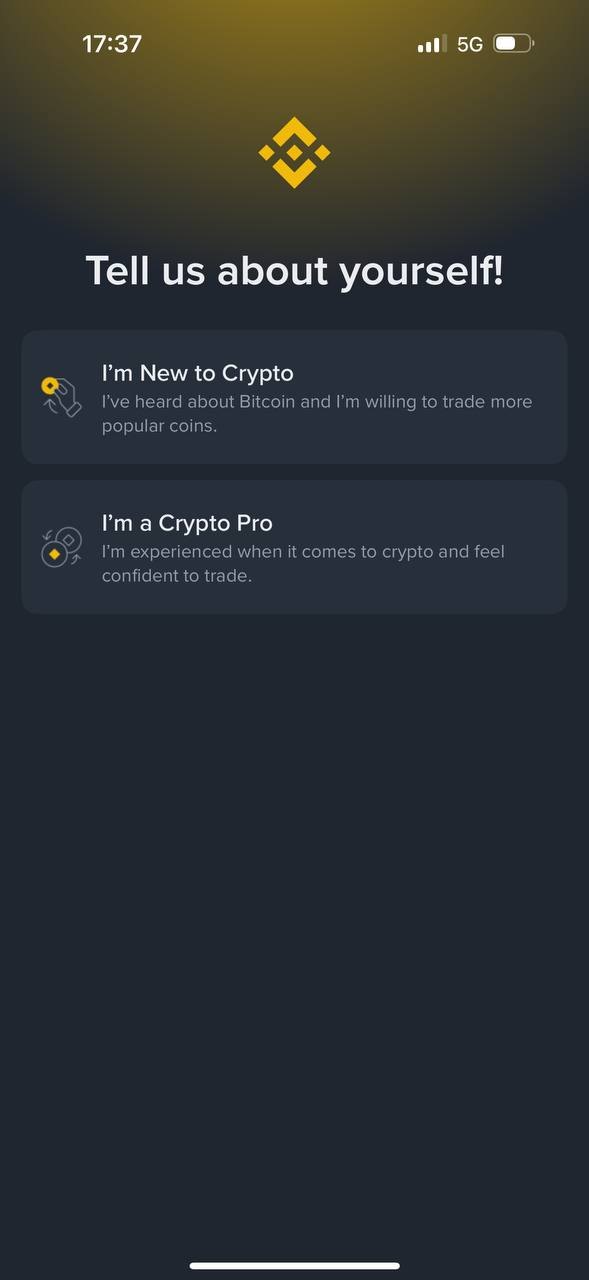
Download the official Binance app from the App Store or Google Play and open it. The first screen asks how well you know crypto. If you are starting from zero, pick I'm New to Crypto.

We open a Binance account, pass the identity check, fund it and send USDT to a TAG Markets account. The whole path in one guide.
Start here ↓Registration, password and identity verification on your phone.
Download the official Binance app from the App Store or Google Play and open it. The first screen asks how well you know crypto. If you are starting from zero, pick I'm New to Crypto.
Tap Register. The Welcome to Binance screen opens and asks for your email address or phone number.
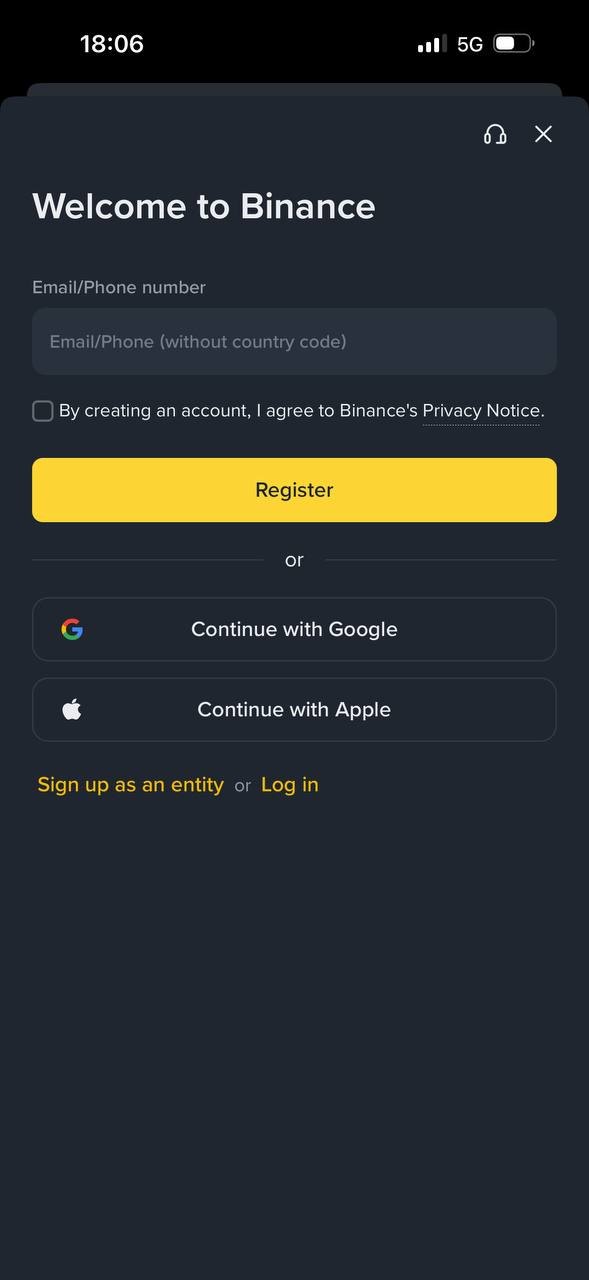
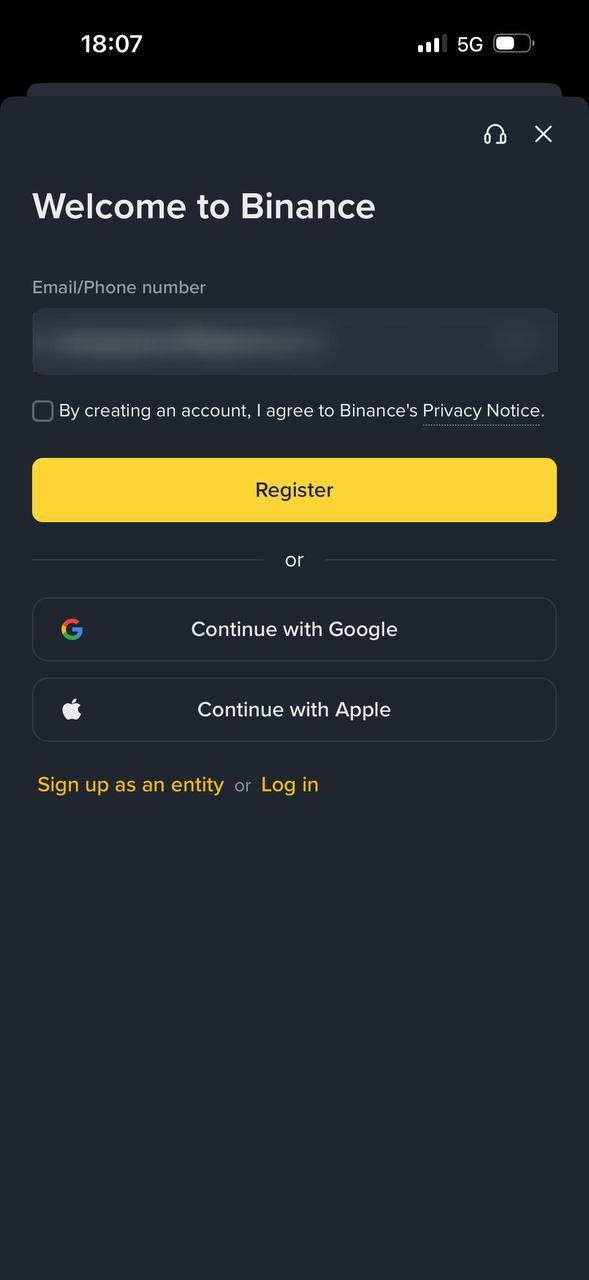
Type an email address you actually have access to. The verification code arrives there in a moment, and every account notification later on.
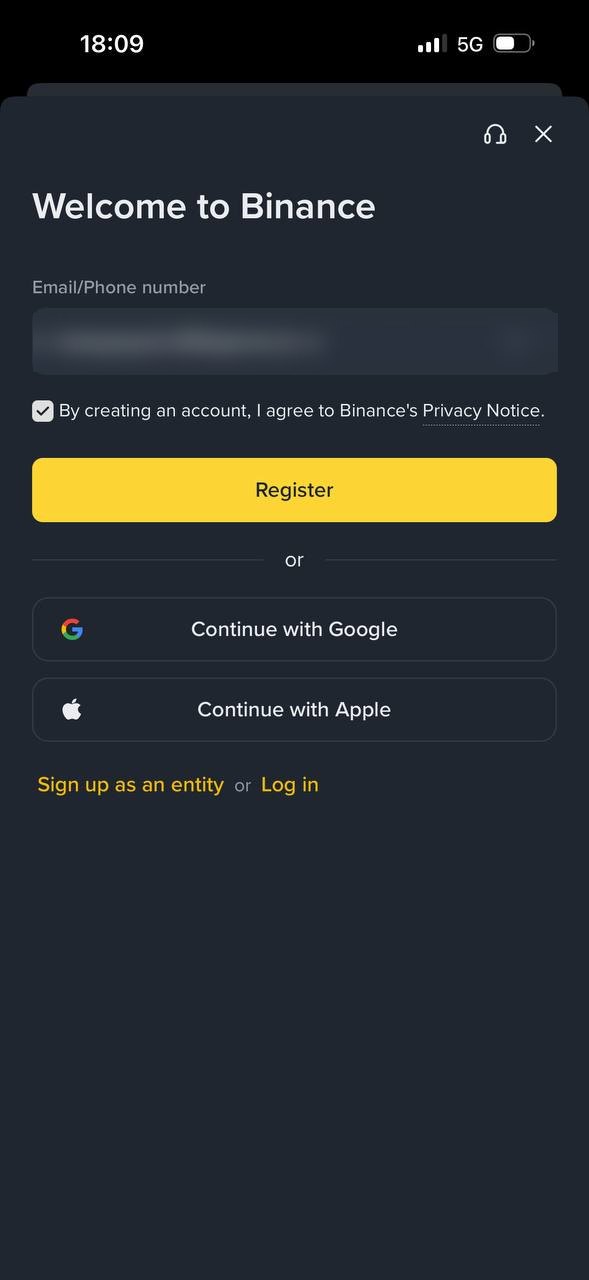
Tick the box in front of the Privacy Notice line and tap Register.
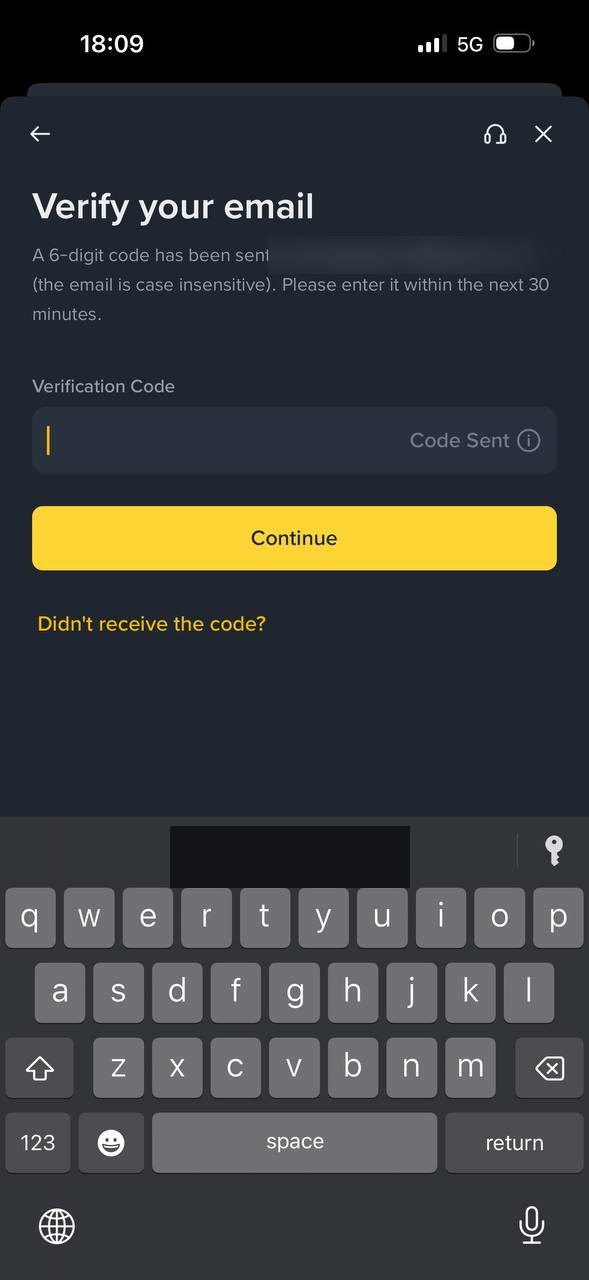
Binance sends a 6-digit code to your email. Type it into the Verification Code field and tap Continue. The code is valid for 30 minutes.
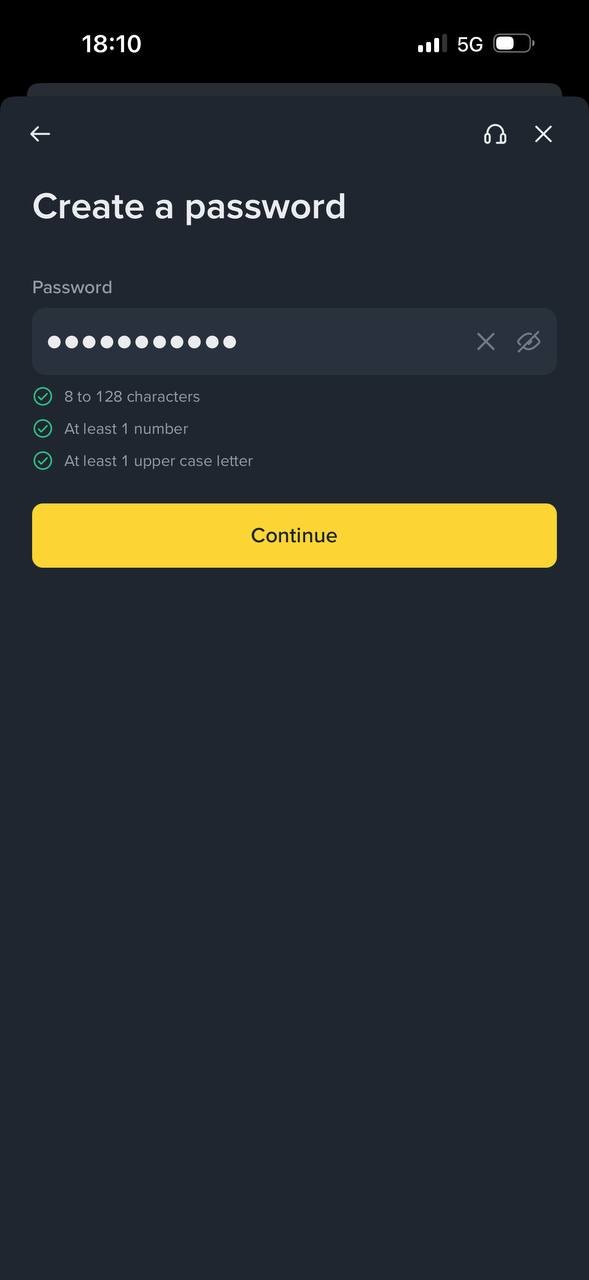
The password needs 8 to 128 characters, at least one number and one upper case letter. Once all three lines turn green, tap Continue.
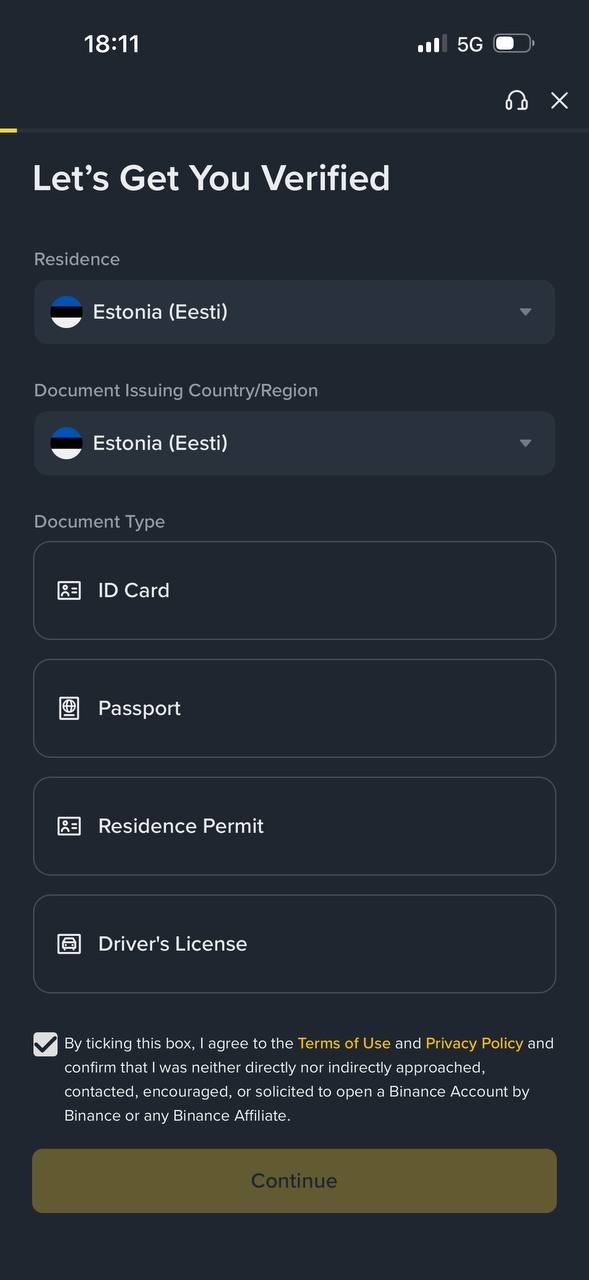
Let's Get You Verified opens. Pick your Residence and the Document Issuing Country. In Estonia both are Estonia (Eesti).
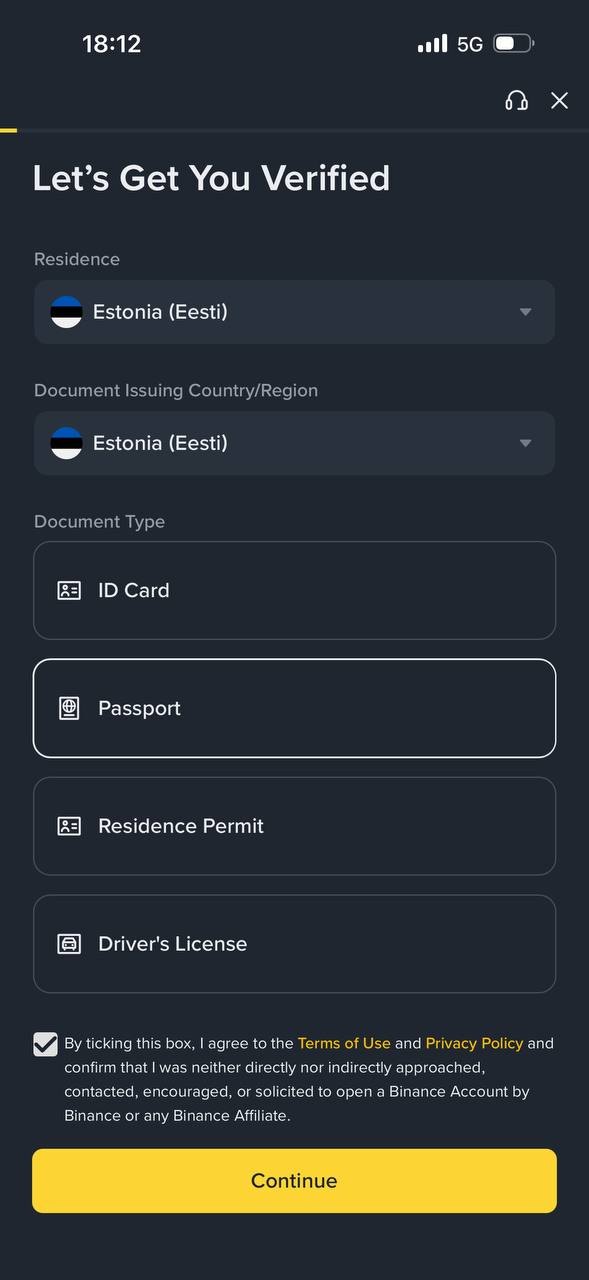
Pick the document you are going to photograph: ID Card, Passport, Residence Permit or Driver's License. Tick the box at the bottom and tap Continue.
Tap Take Pictures and photograph the information page. Use the original document, not a copy or a screenshot. Everything has to be readable and no beauty filters.
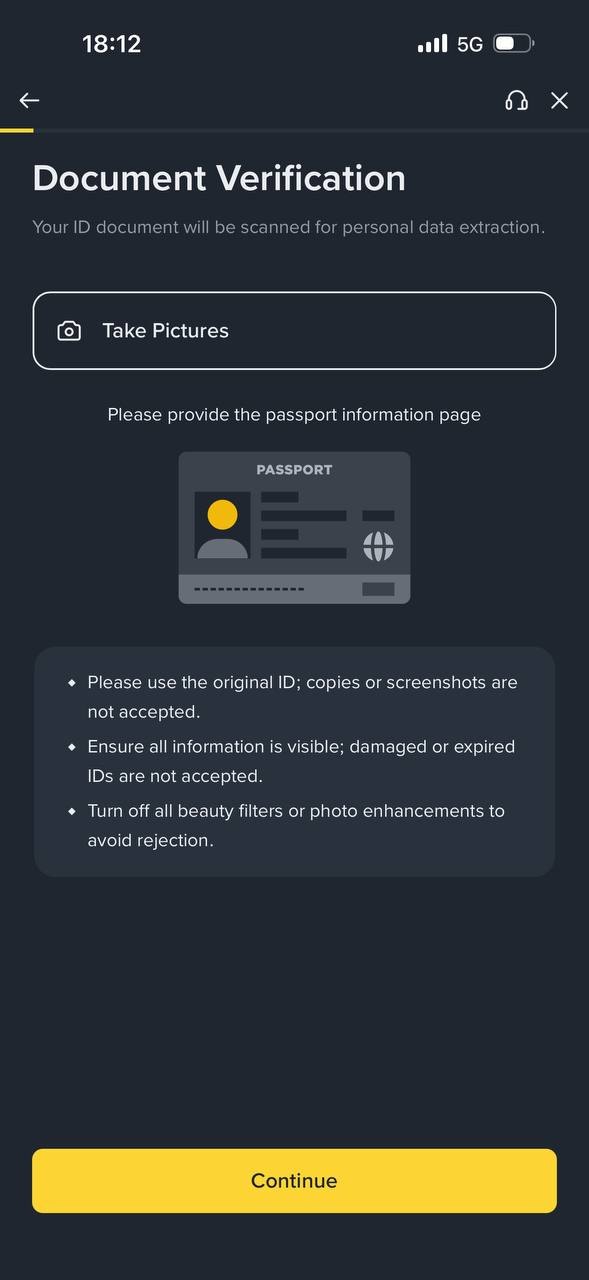
The Liveness Check records your face. Turn the screen brightness up, find a well lit spot and take off glasses, hat and mask. Tap Continue and follow the instructions on screen.
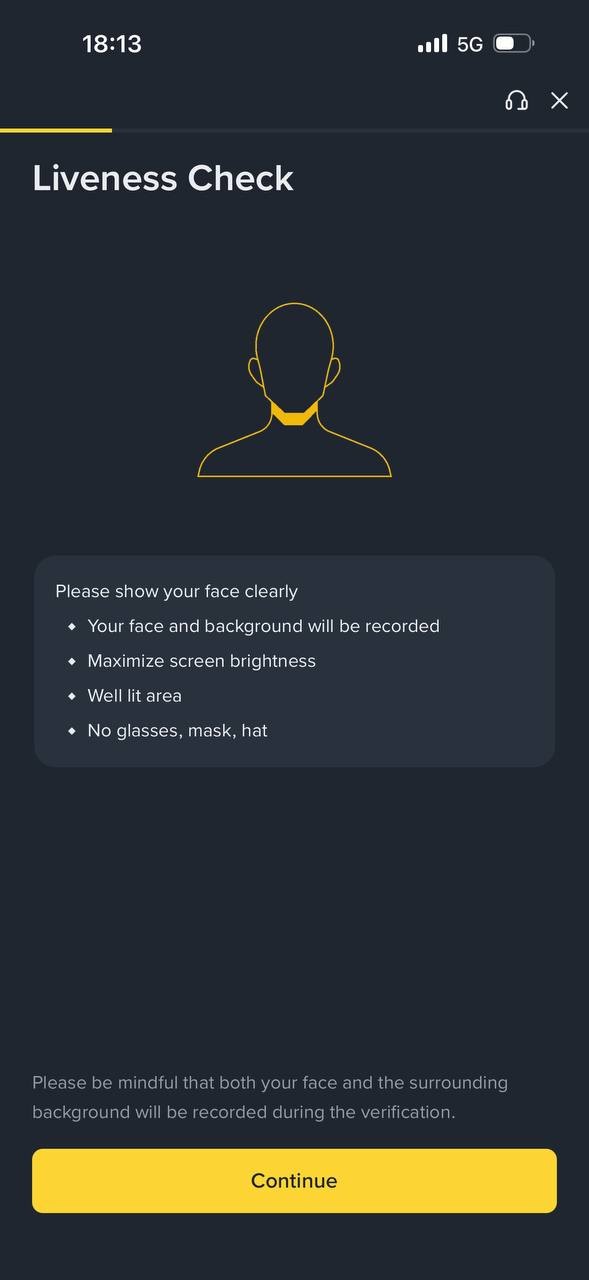
Binance reads your name and date of birth off the document. Check that both are exactly right and tap Continue.
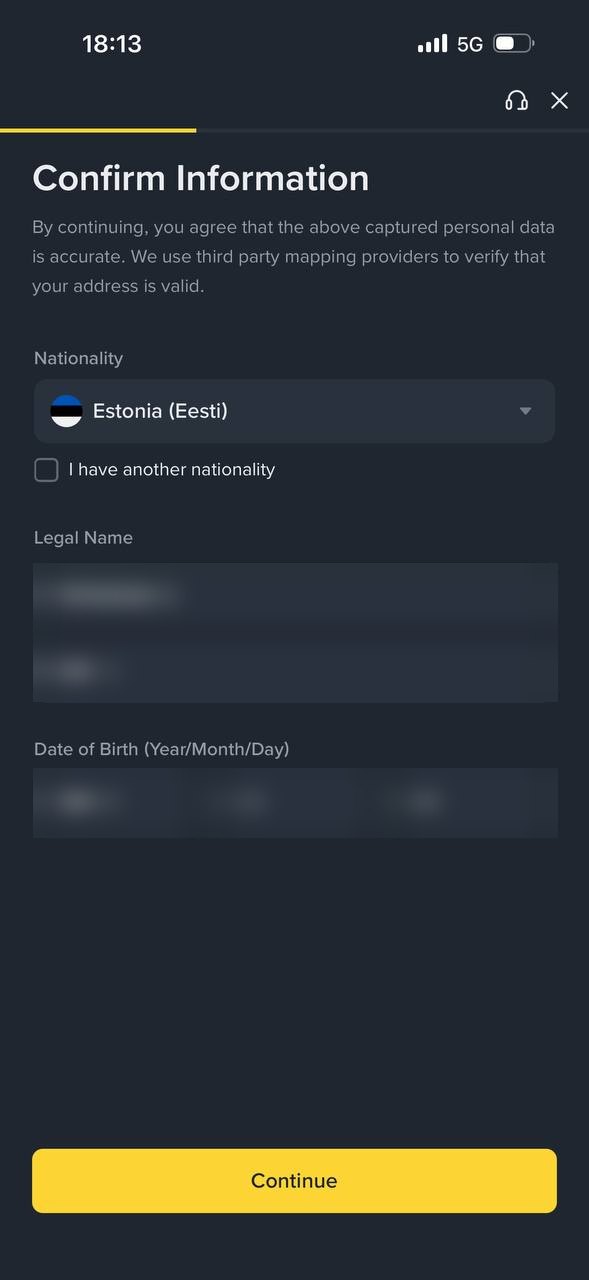
Type the street and house number, the postal code and the city. The country is already filled in. The address has to be complete, apartment number included.
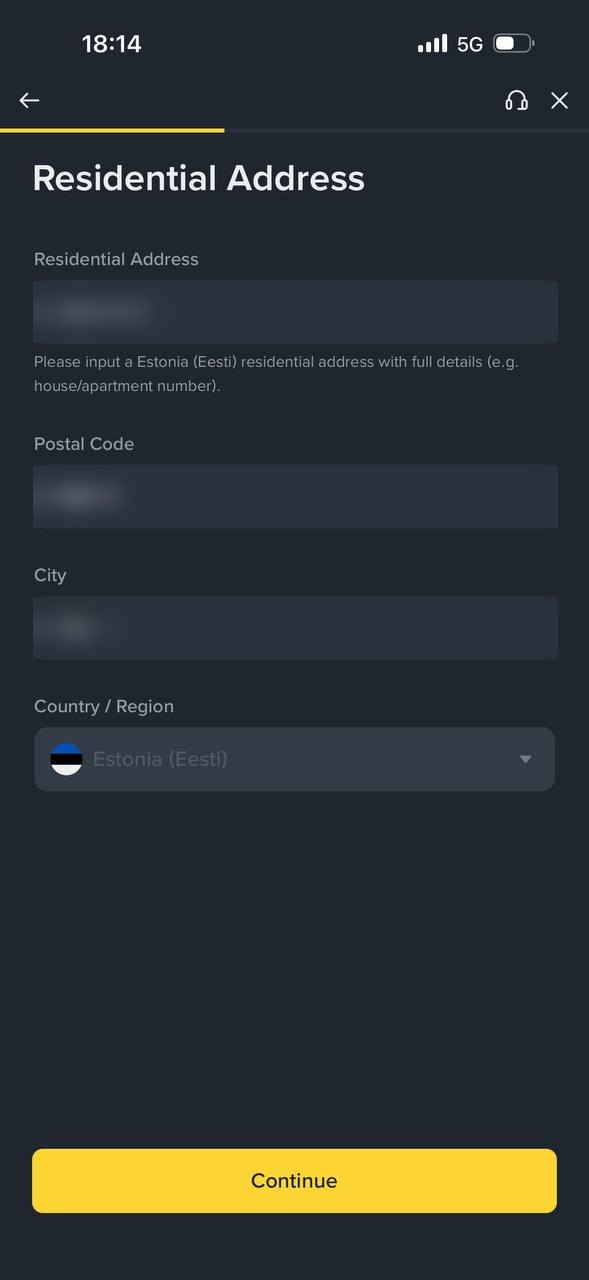
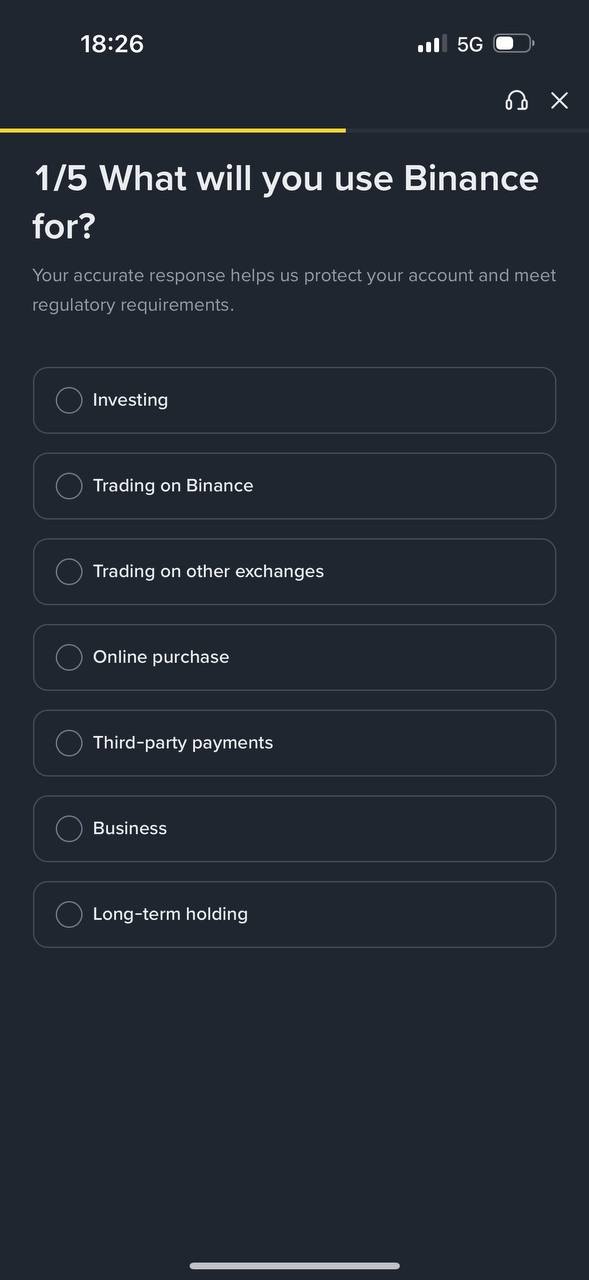
Pick what you will use Binance for. For Sonic, Investing or Long-term holding fits. Answer honestly, this is a regulatory requirement.
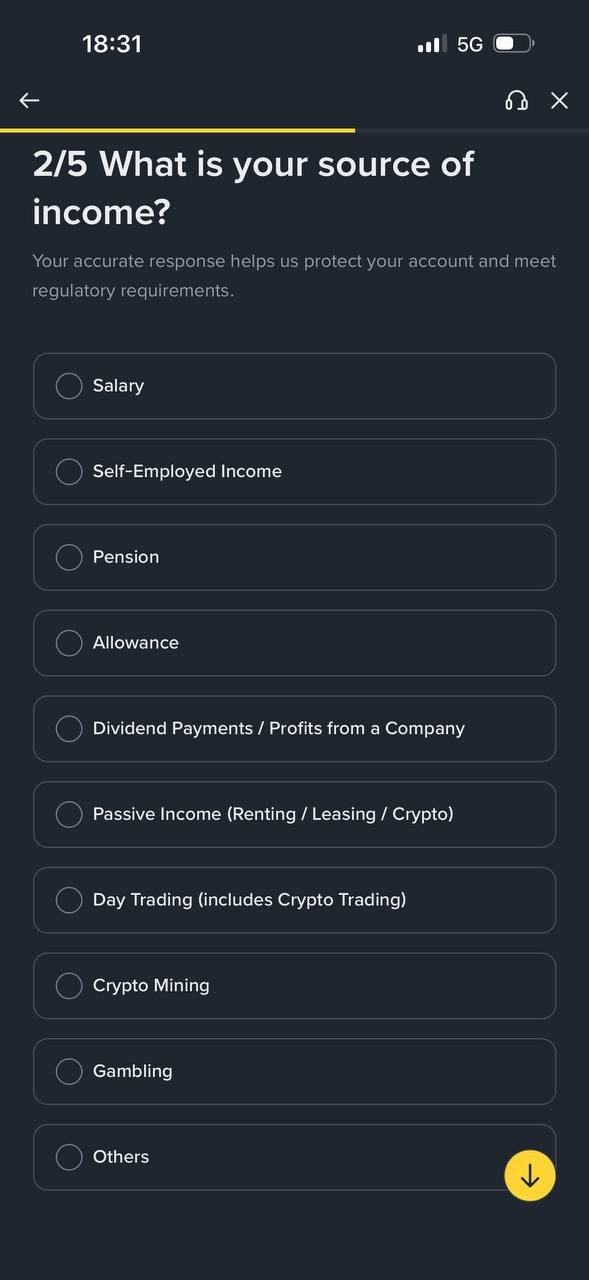
Pick where your money comes from, for example Salary or Self-Employed Income.
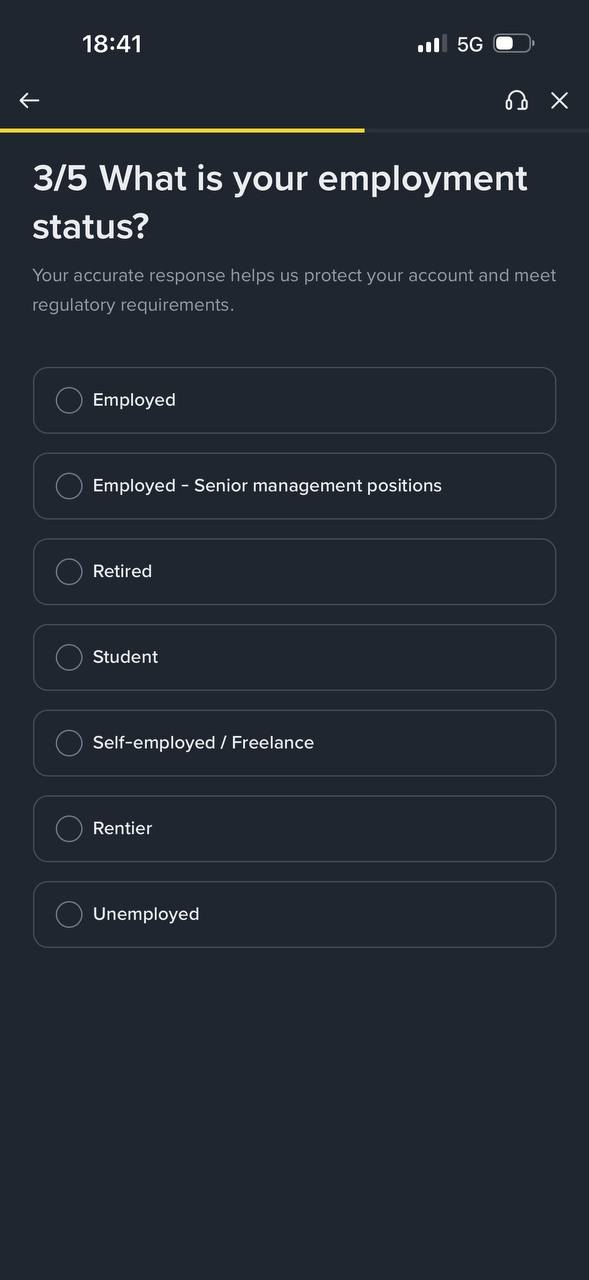
Pick your status, for example Employed, Self-employed / Freelance or Student.
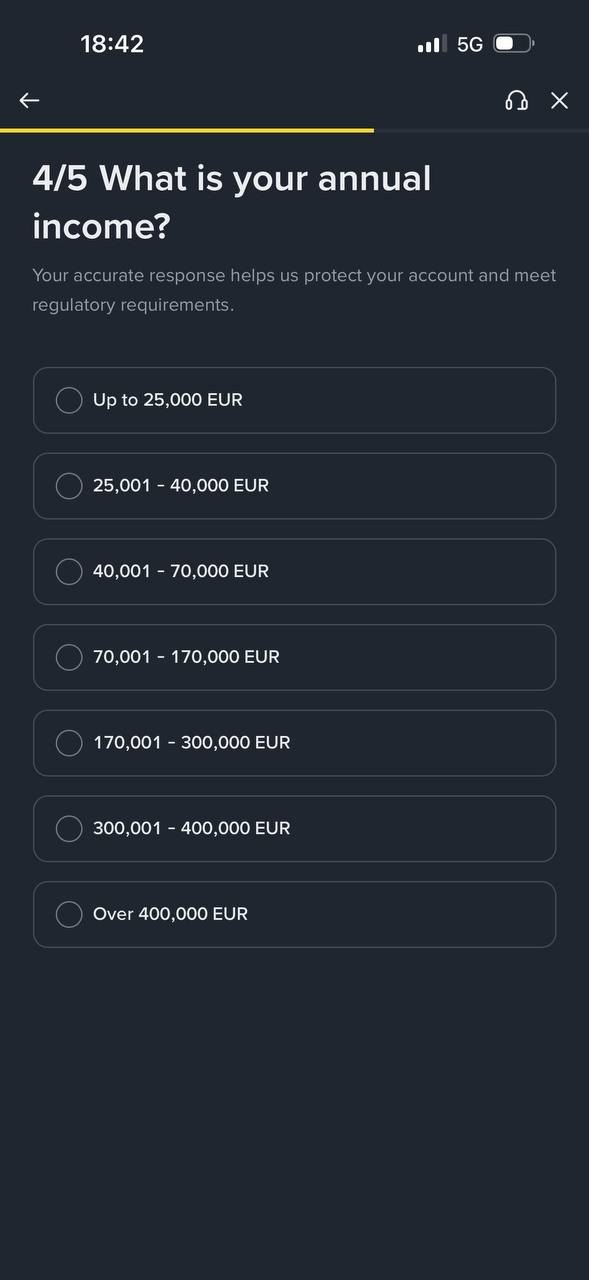
Pick the bracket your annual income falls into.
The last question is about the total value of your assets.
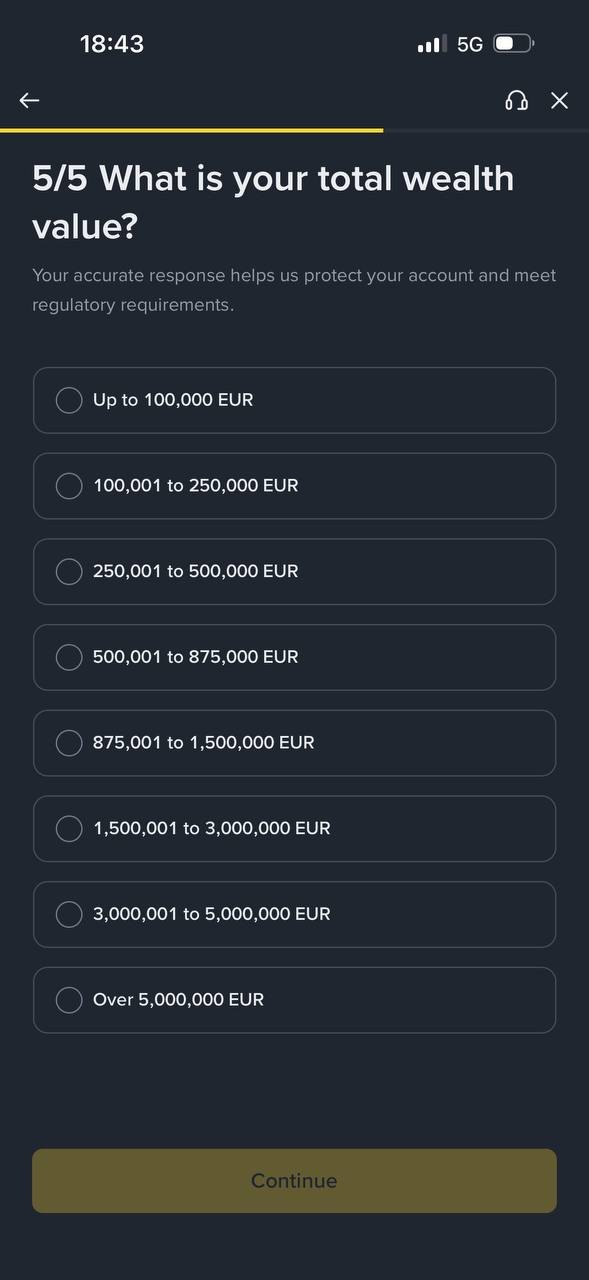
Once an answer is selected the Continue button turns yellow. Tap it.
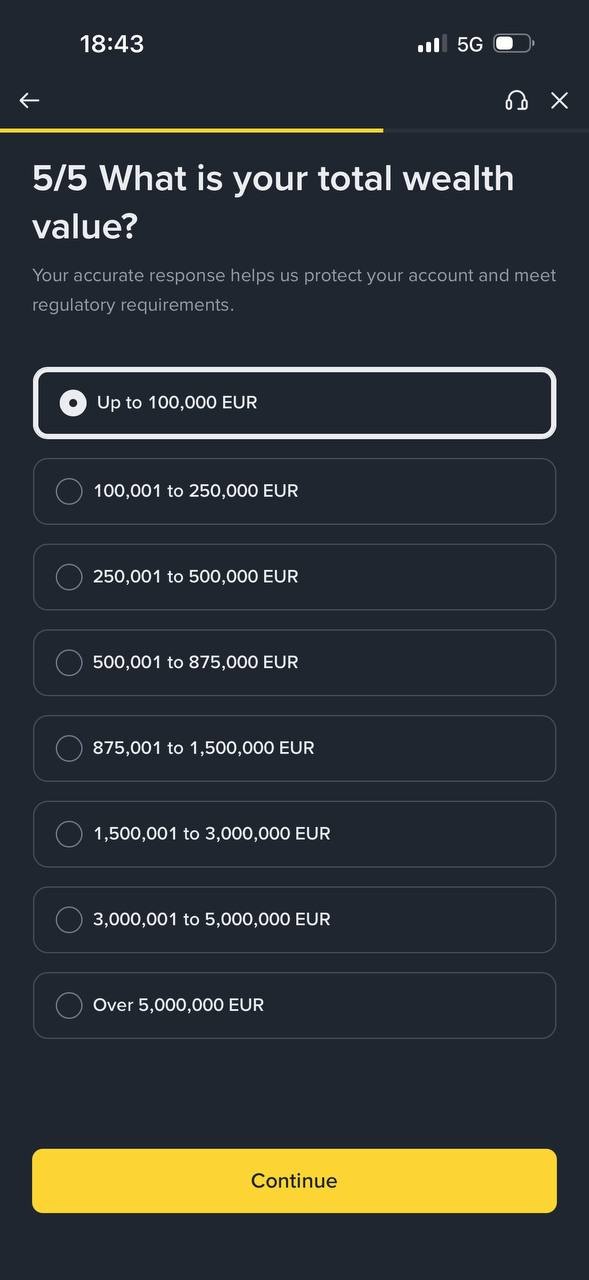
You land on Under Review. Binance estimates about 15 minutes, in practice it is usually faster. You get the answer by email and as an app notification.
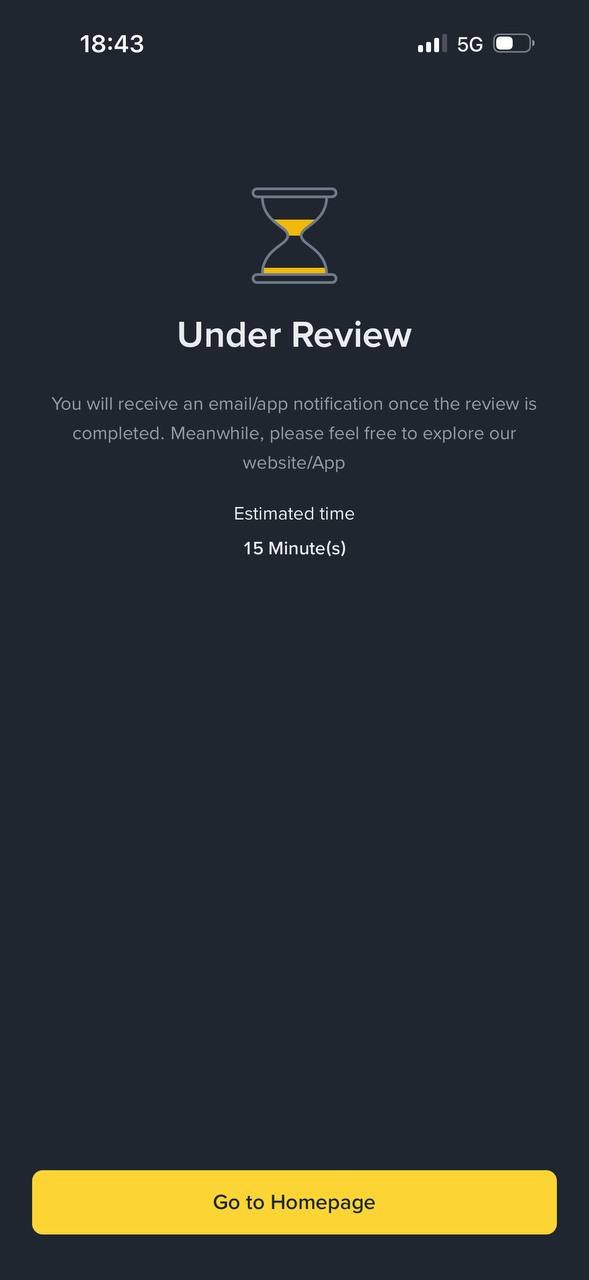
Once the check is done the app home screen opens. The balance is zero, funding is next.
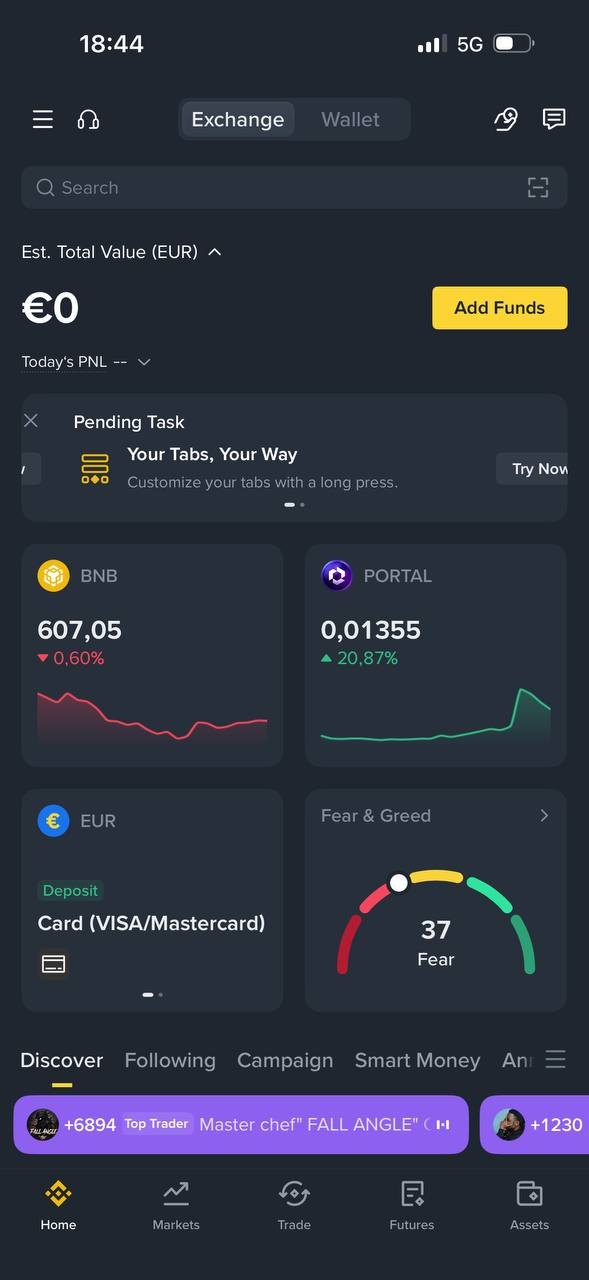
Move EUR in by bank transfer or card, then swap it into USDT.
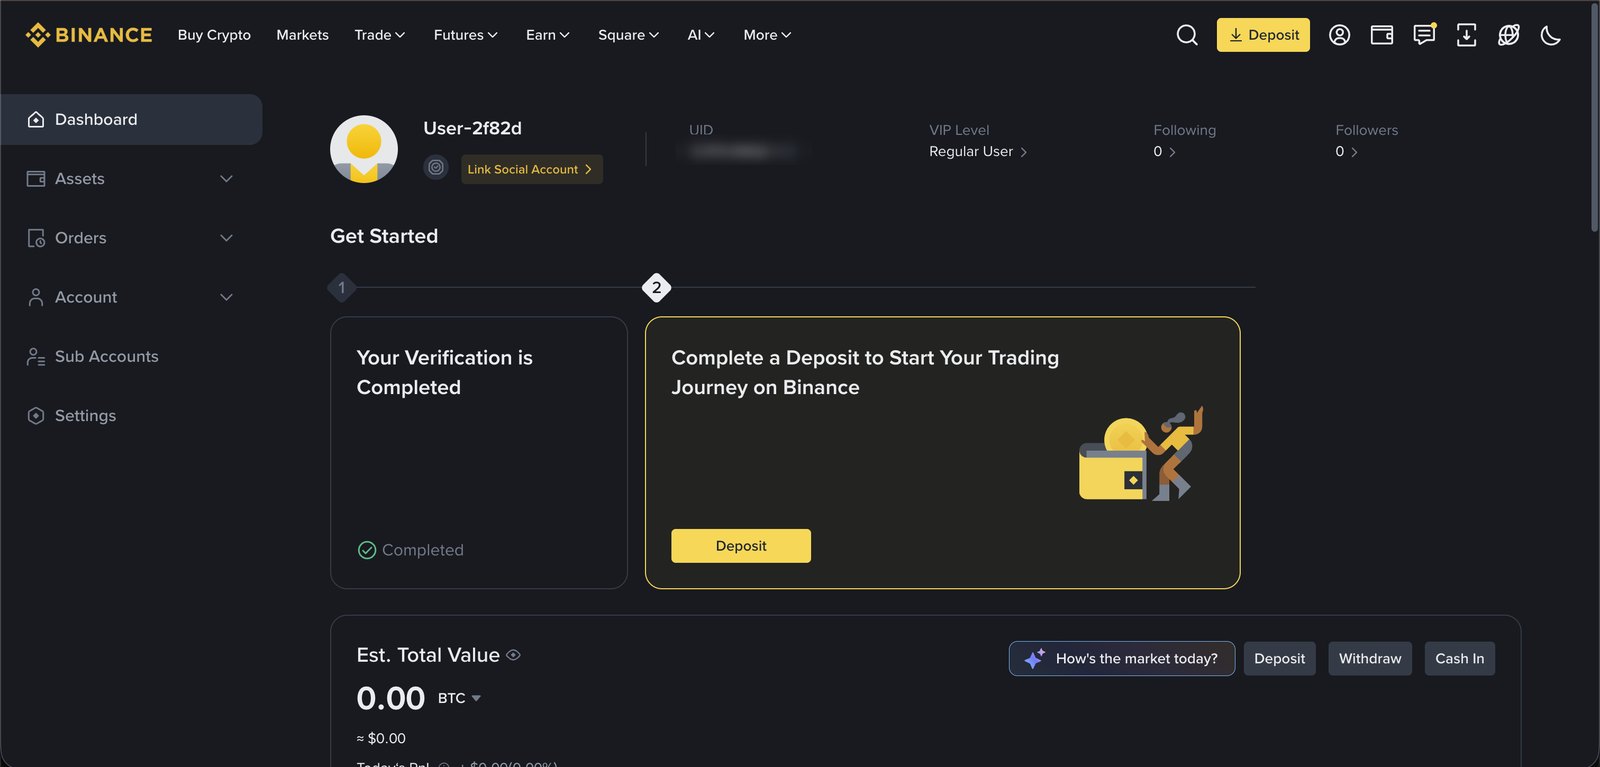
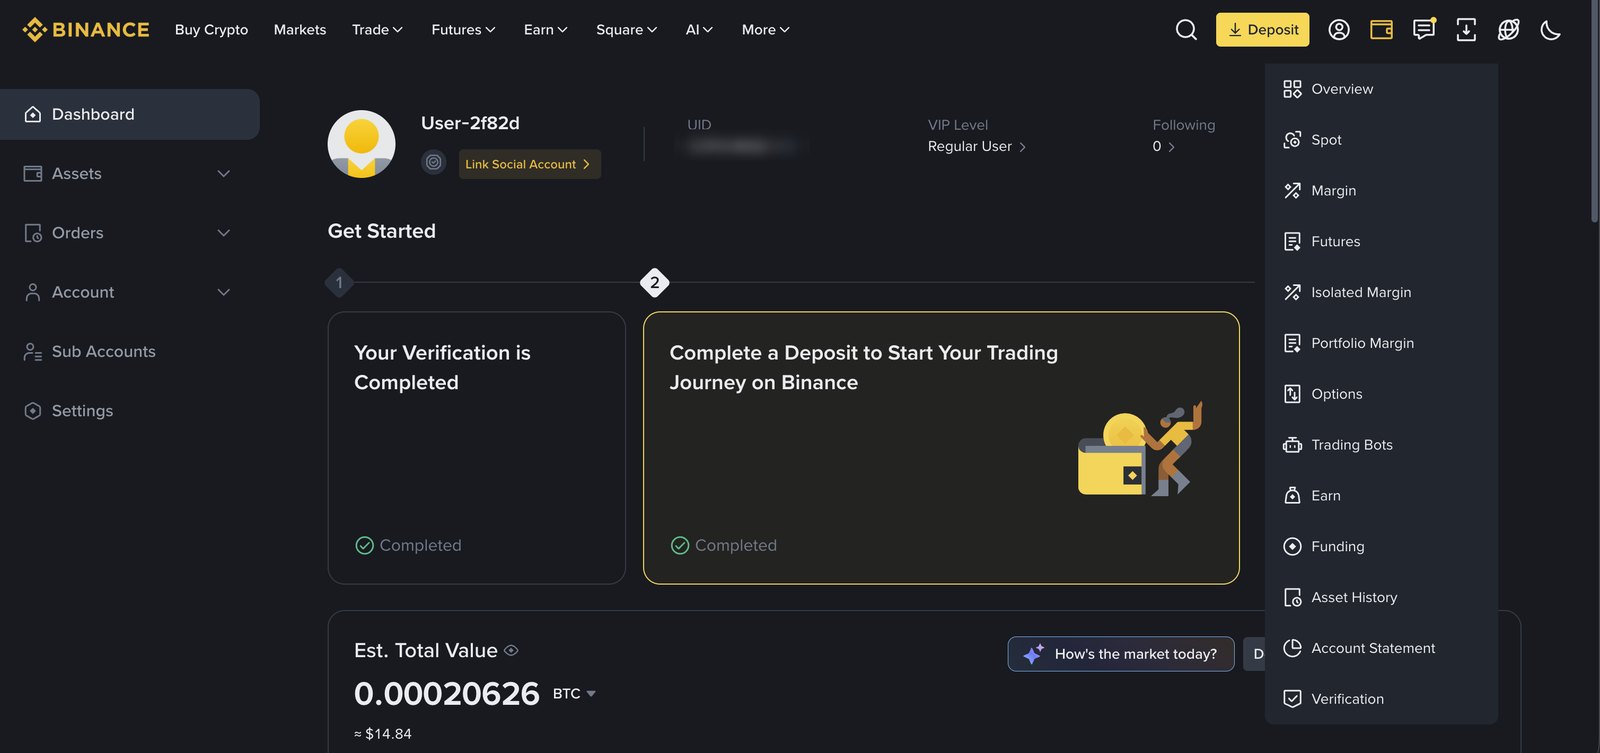
The rest is easier on a computer. Open binance.com and log in. On the dashboard the first step says Your Verification is Completed and the second one is waiting for a deposit. Click Deposit.
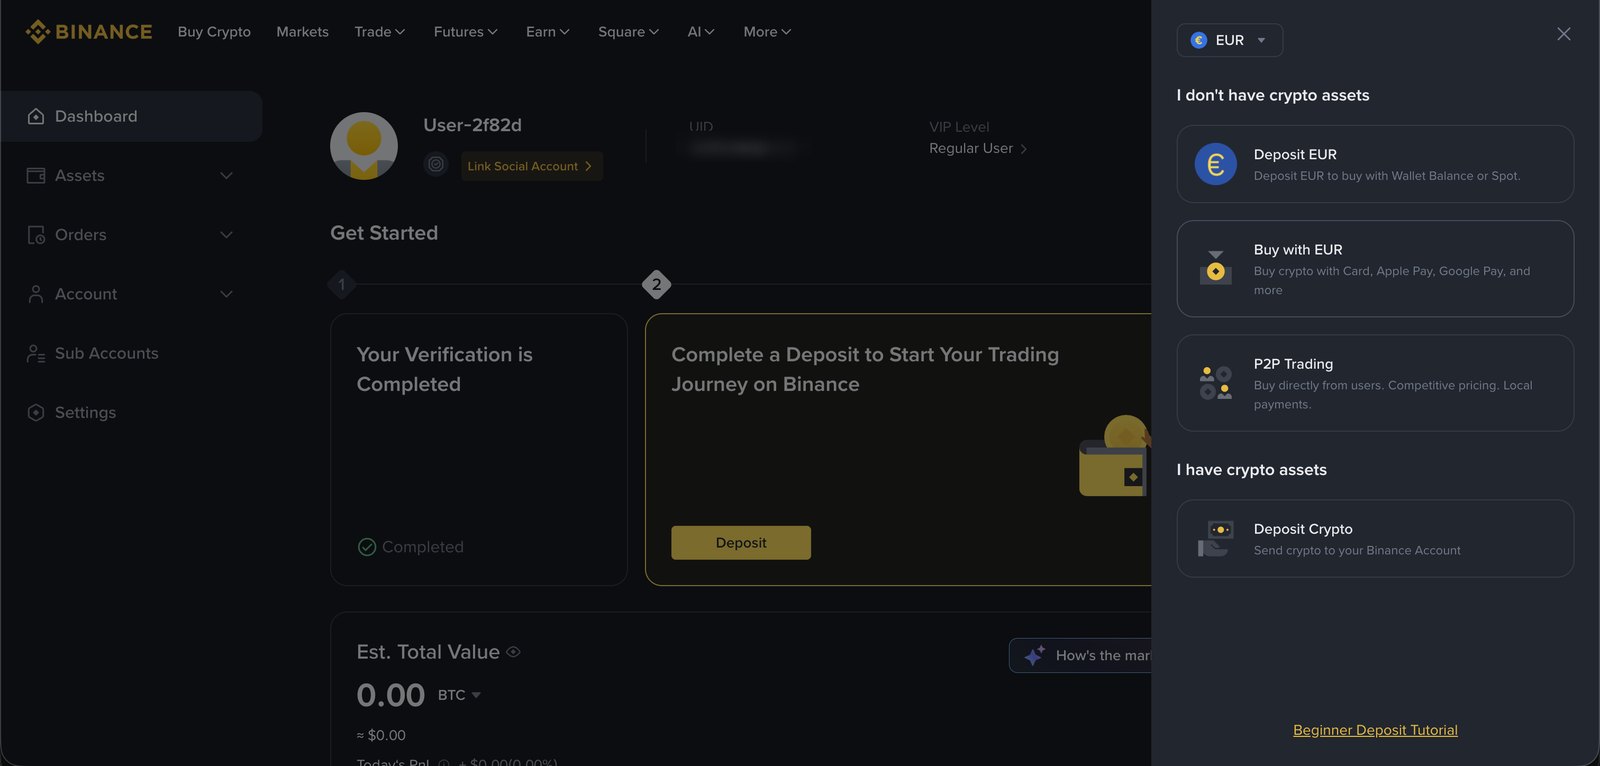
A panel opens on the right. If you have no crypto yet, choose Deposit EUR. Buy with EUR buys crypto with a card straight away, and Deposit Crypto is for when you already hold crypto elsewhere.
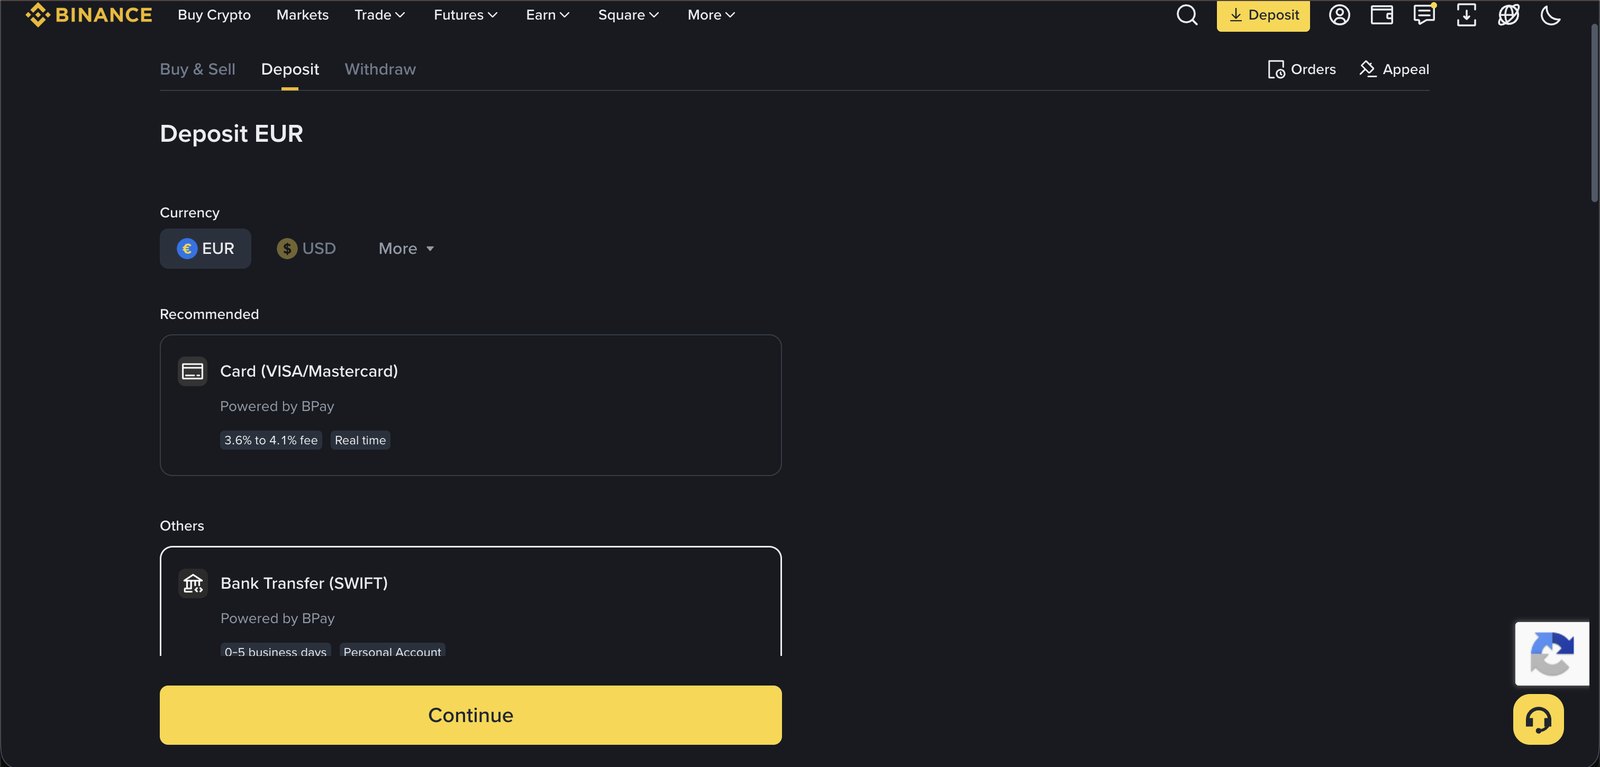
Two options:
Pick one and click Continue.
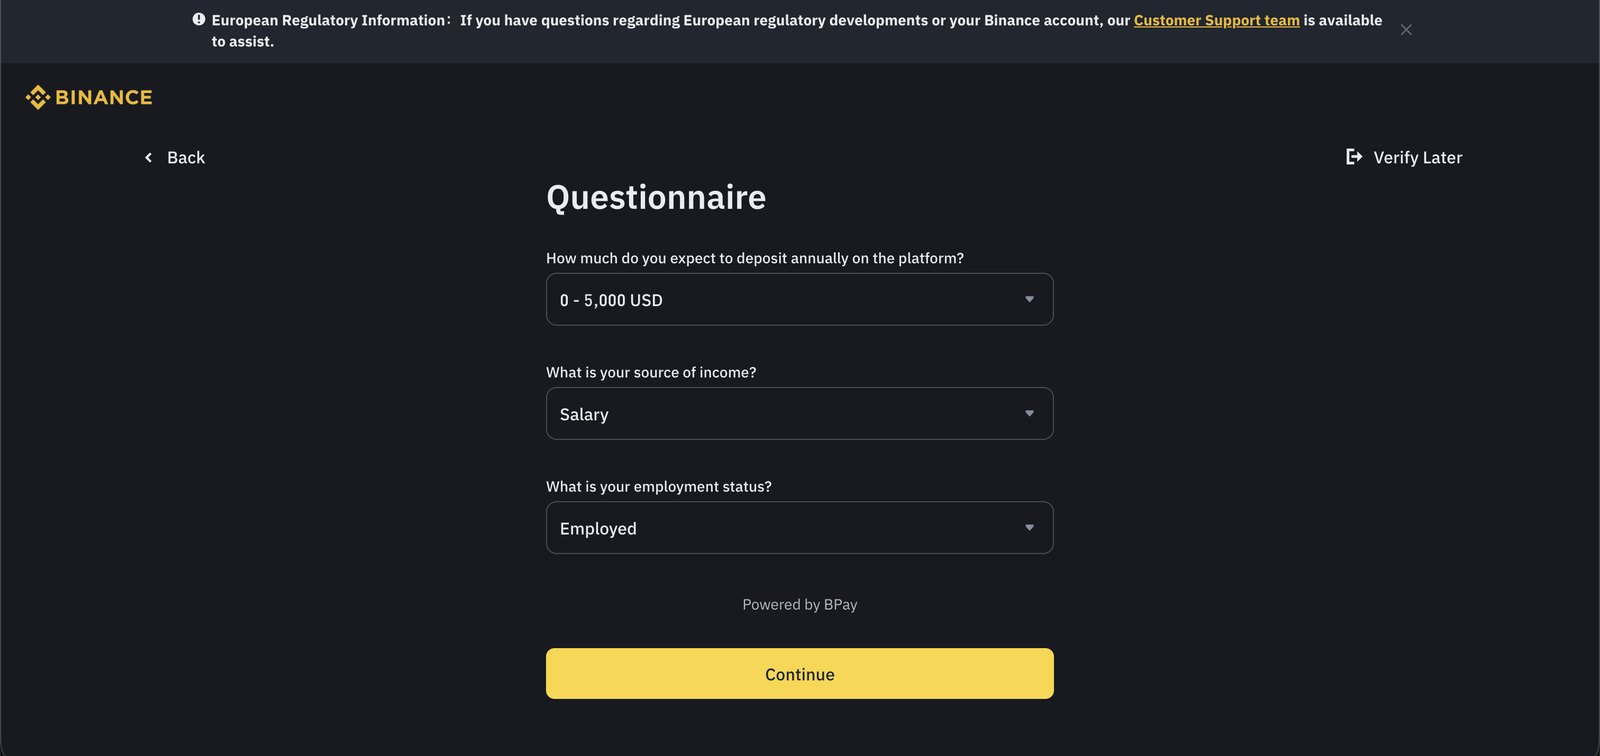
The payment provider asks how much you expect to deposit per year, your source of income and your employment status. Click Continue.
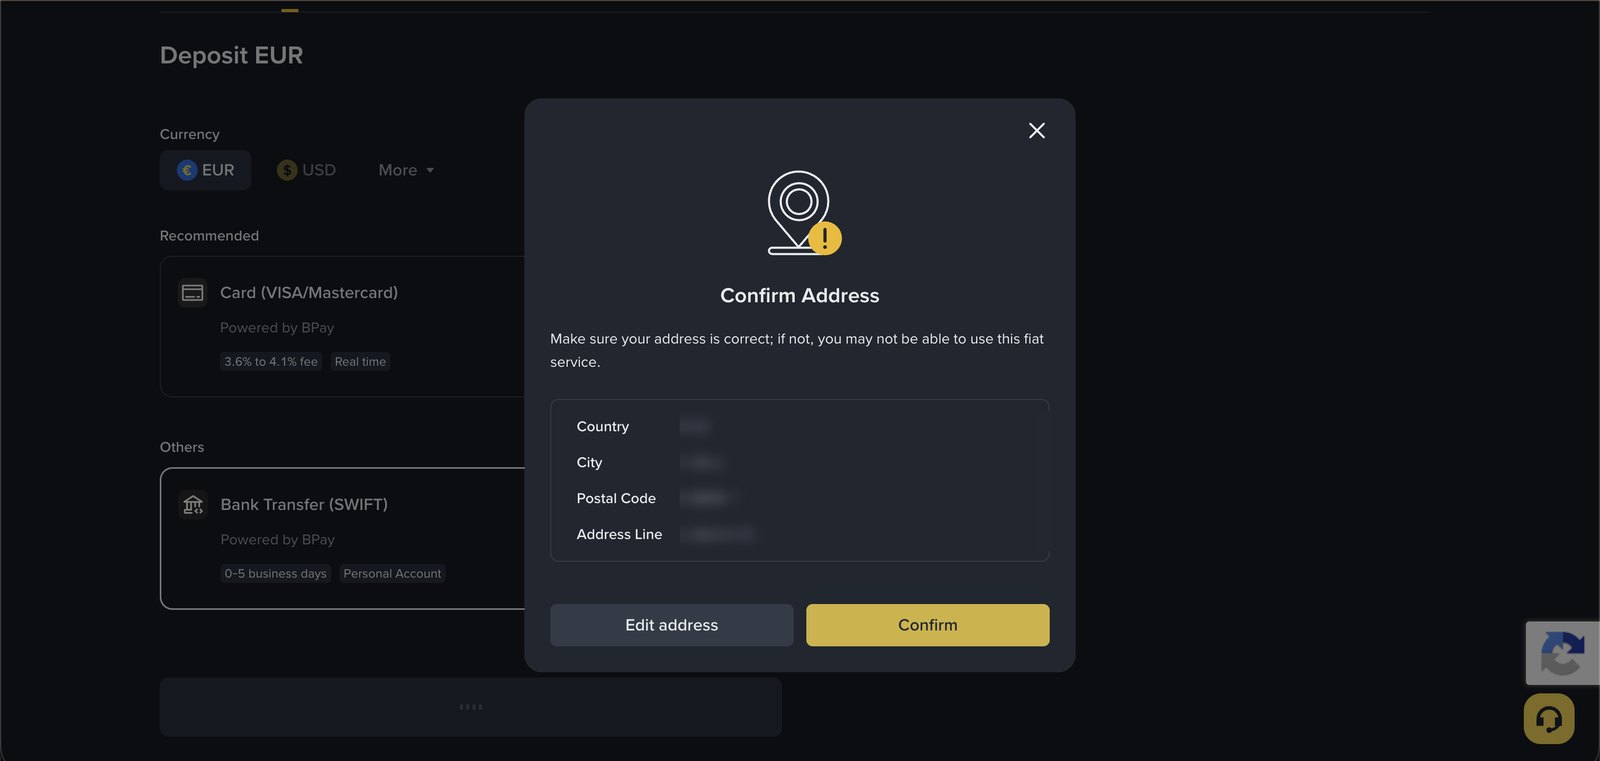
Check that the country, city, postal code and address line are right, then click Confirm. The fiat service will not work with a wrong address.
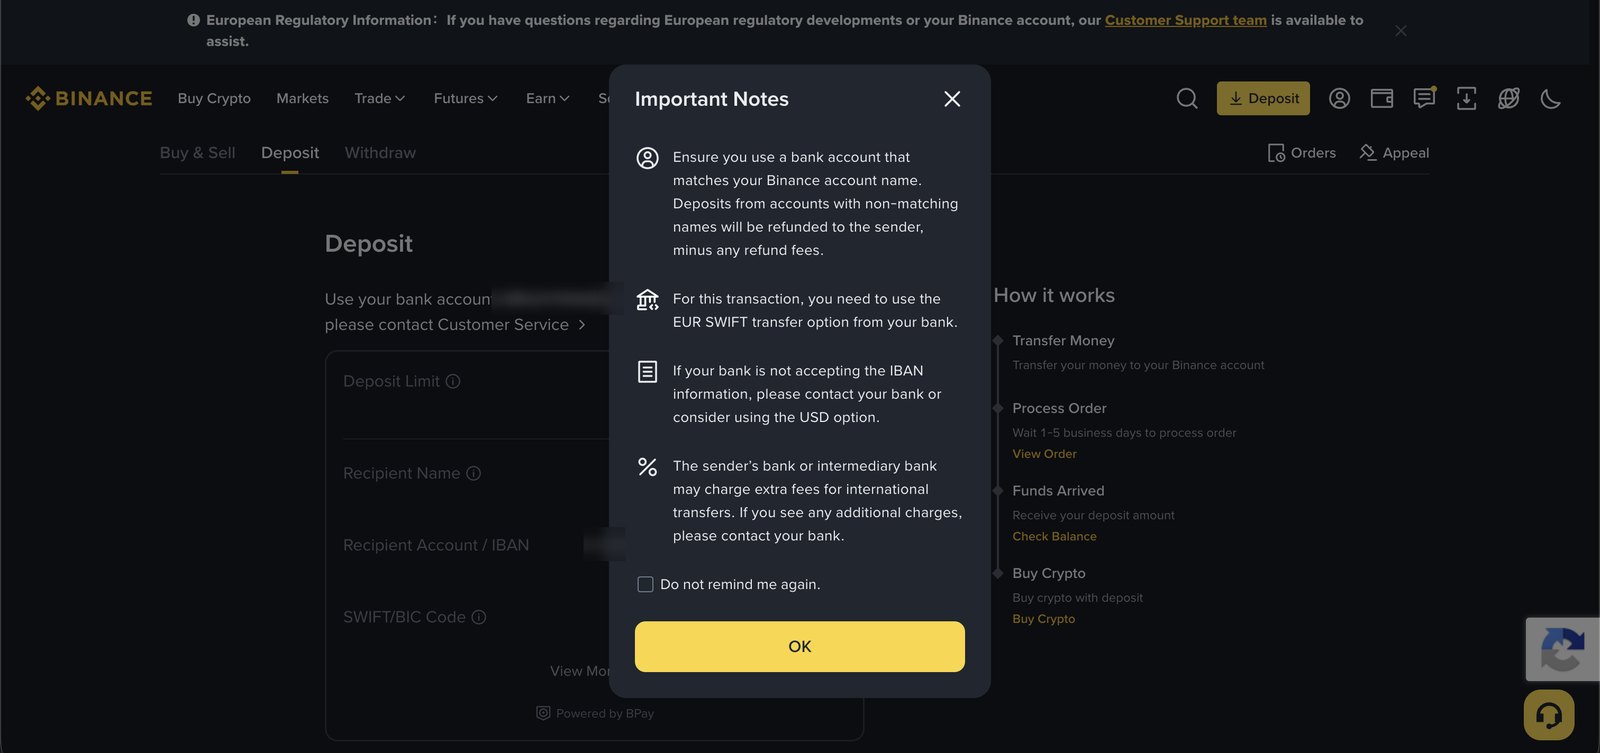
The line that matters: the bank account has to be in your own name and match the name on your Binance account. Money sent from someone else's account is returned. The transfer has to go out as an EUR SWIFT payment. Click OK.
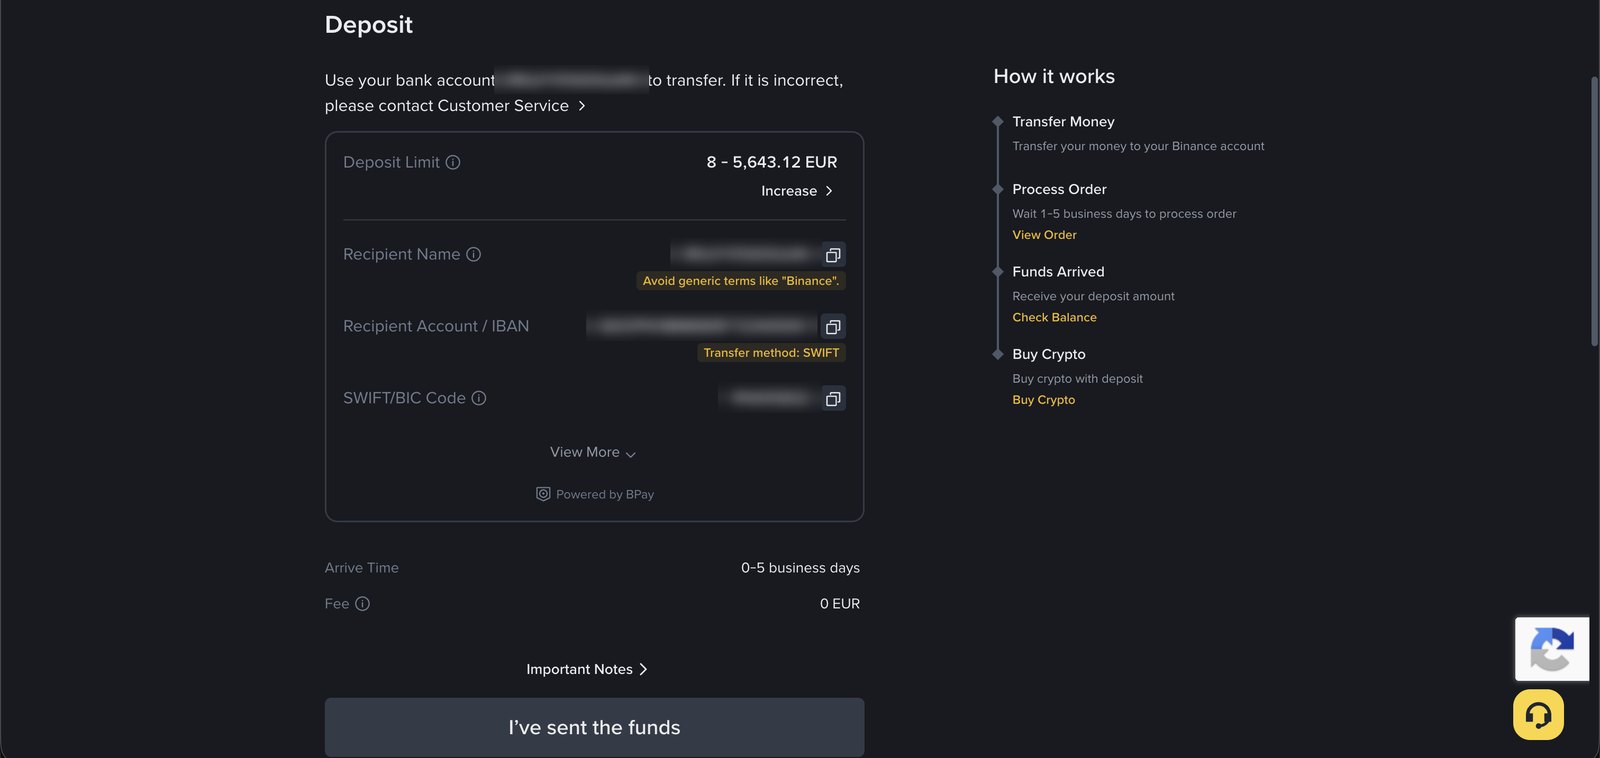
The screen shows the recipient name, the IBAN and the SWIFT/BIC code. Copy them into your online bank with the copy buttons and send an EUR SWIFT transfer. Do not write the word "Binance" in the reference. Once the payment is sent, click I've sent the funds.
Once the money lands on your Binance account, swap it into USDT, because what we send to TAG Markets is crypto. Use Buy Crypto or Convert: pick from EUR, to USDT and confirm.
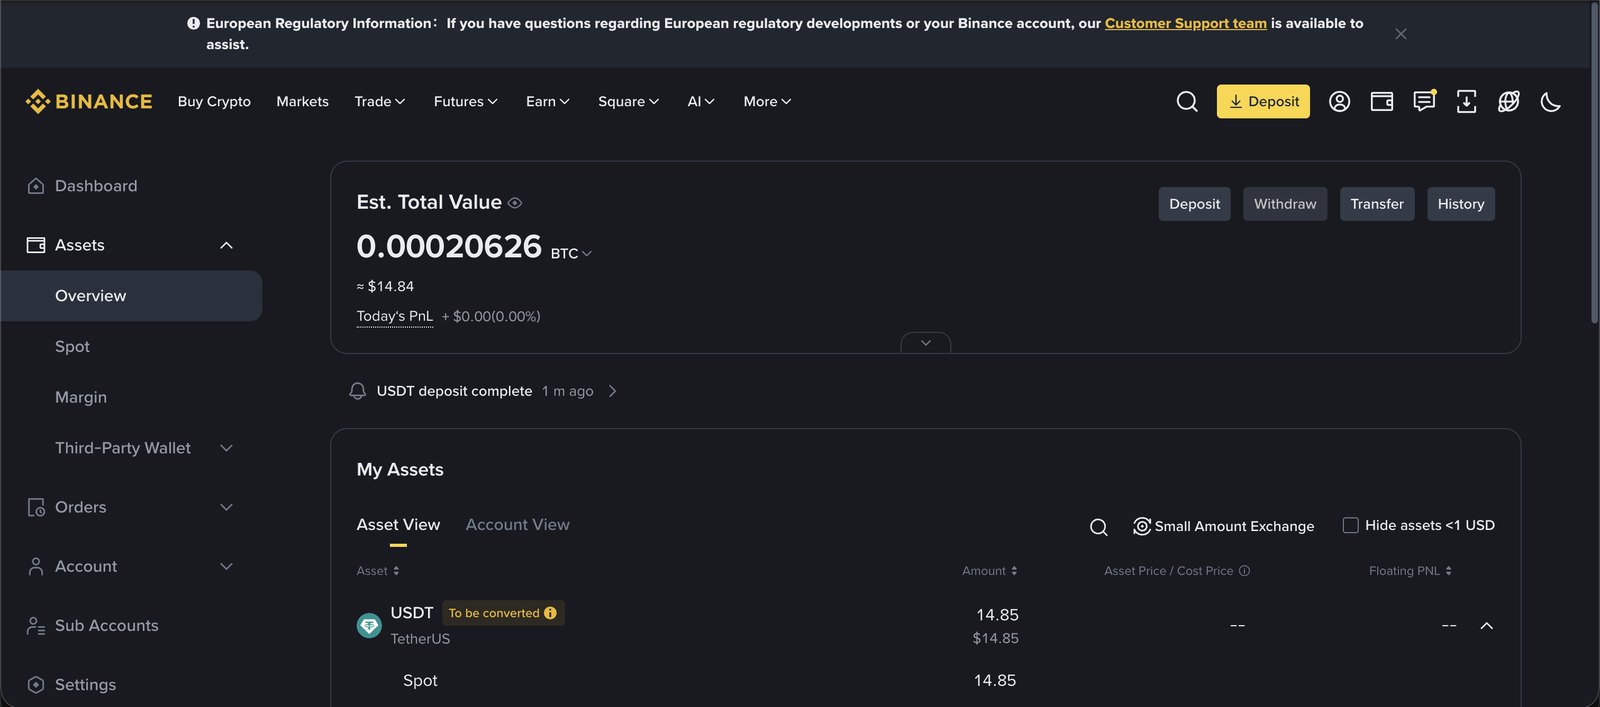
On the dashboard Est. Total Value now shows your balance and both Get Started steps are green. In the top menu, the wallet icon takes you to Overview.
Under Assets → Overview your USDT should sit in the Spot wallet. Remember the amount, that is what you send on.
Open a crypto deposit in the back office and copy the address.
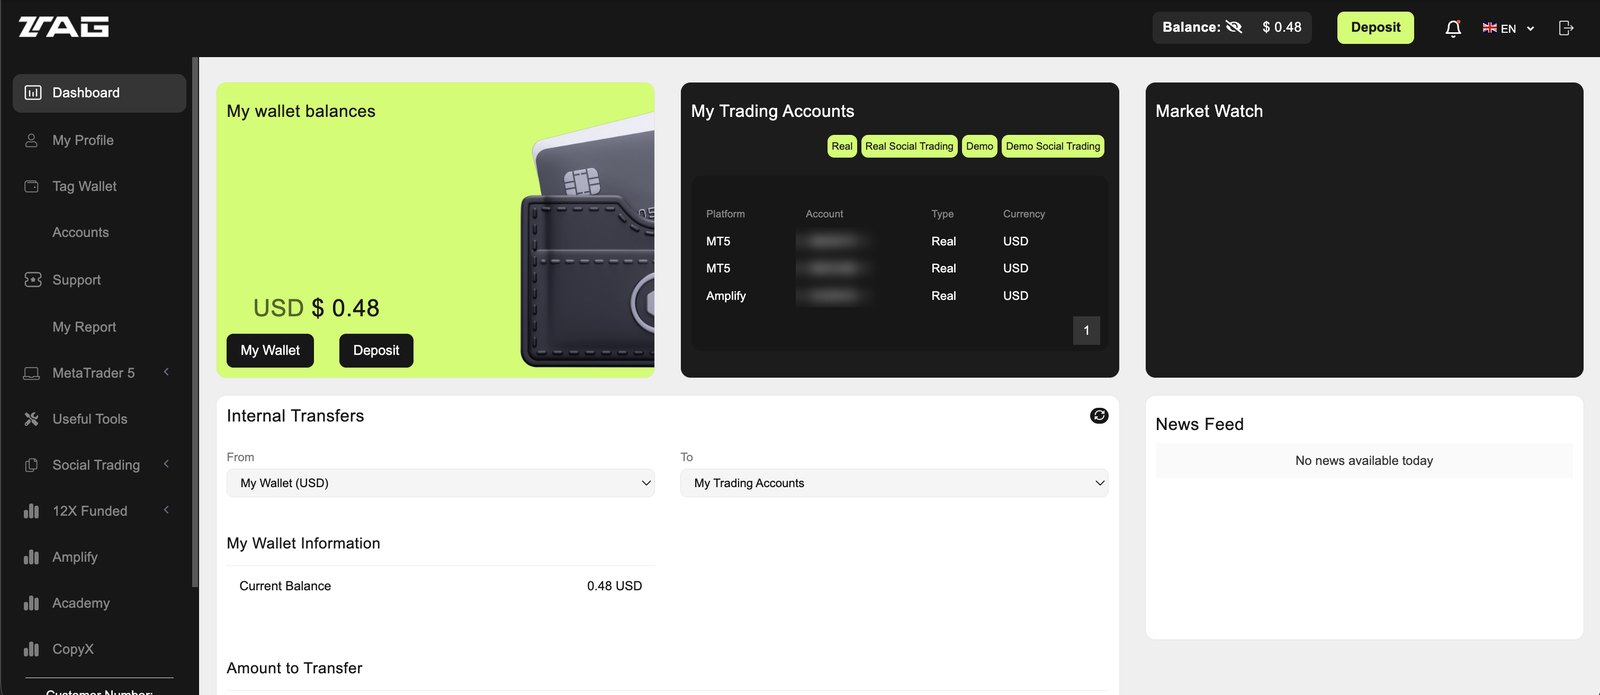
In another tab, log in to your TAG Markets account. There is a Deposit button at the top of the dashboard. Click it.
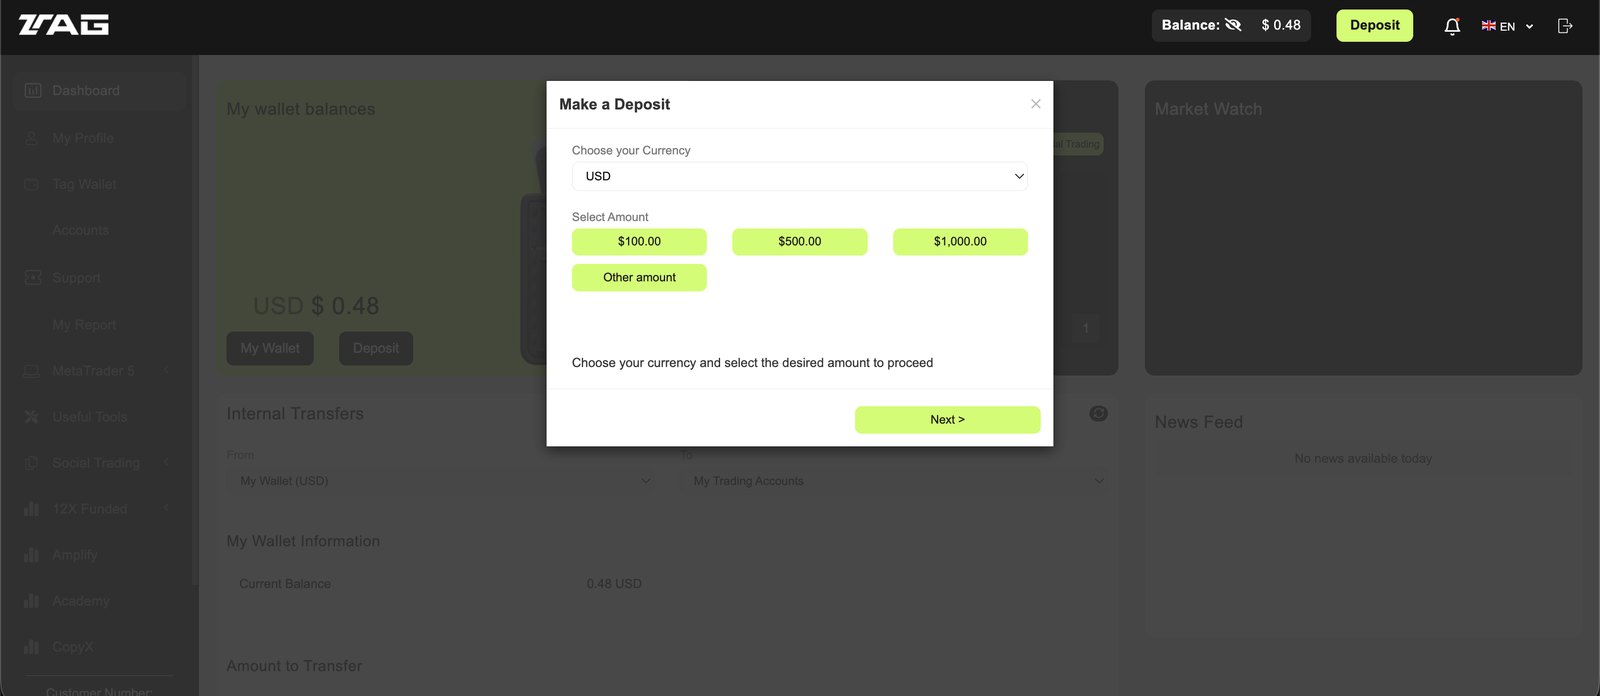
In the Make a Deposit window pick USD as the currency and then the amount. The quick picks are 100, 500 and 1000 dollars, for your own figure click Other amount.
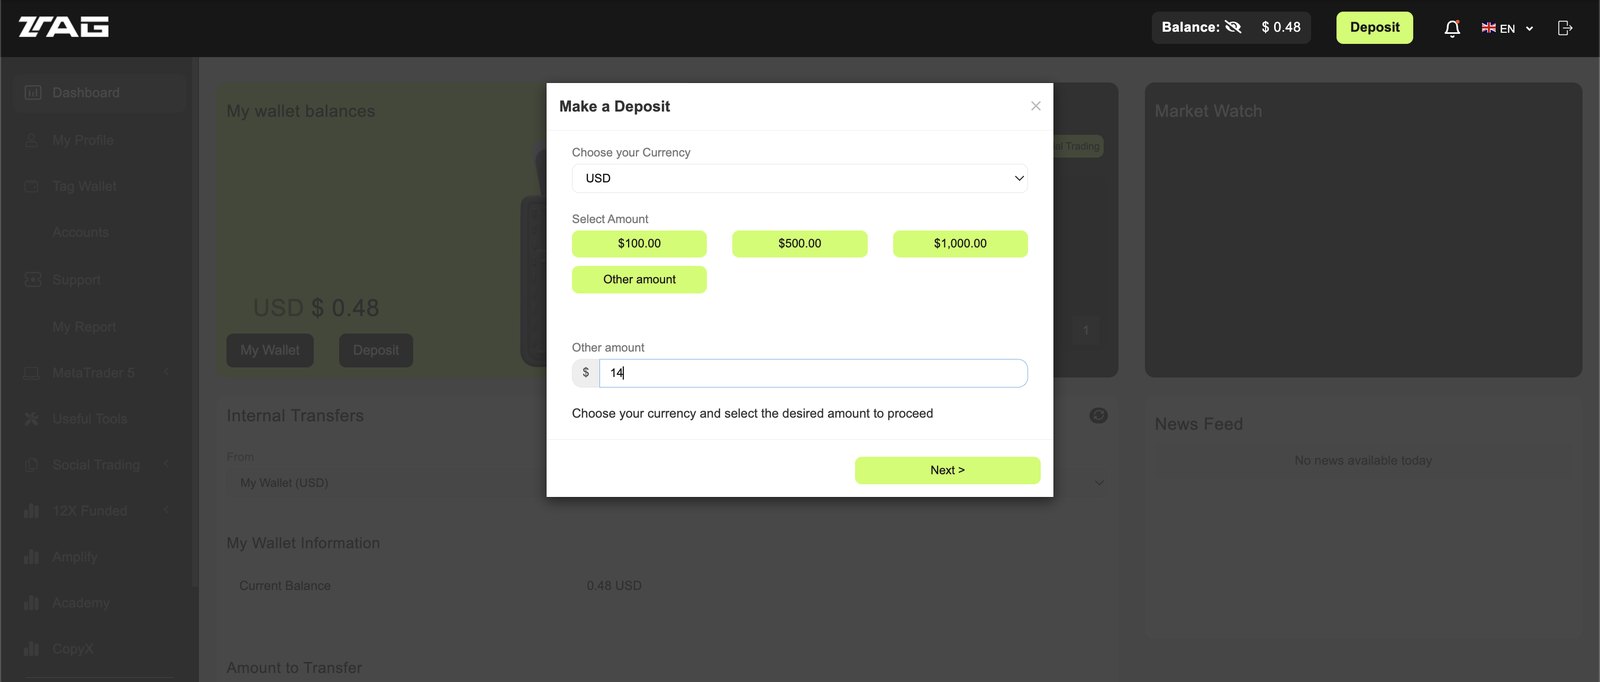
Type the amount you are actually going to send. Use the same figure you hold in USDT on Binance, so nothing is left hanging. Click Next.
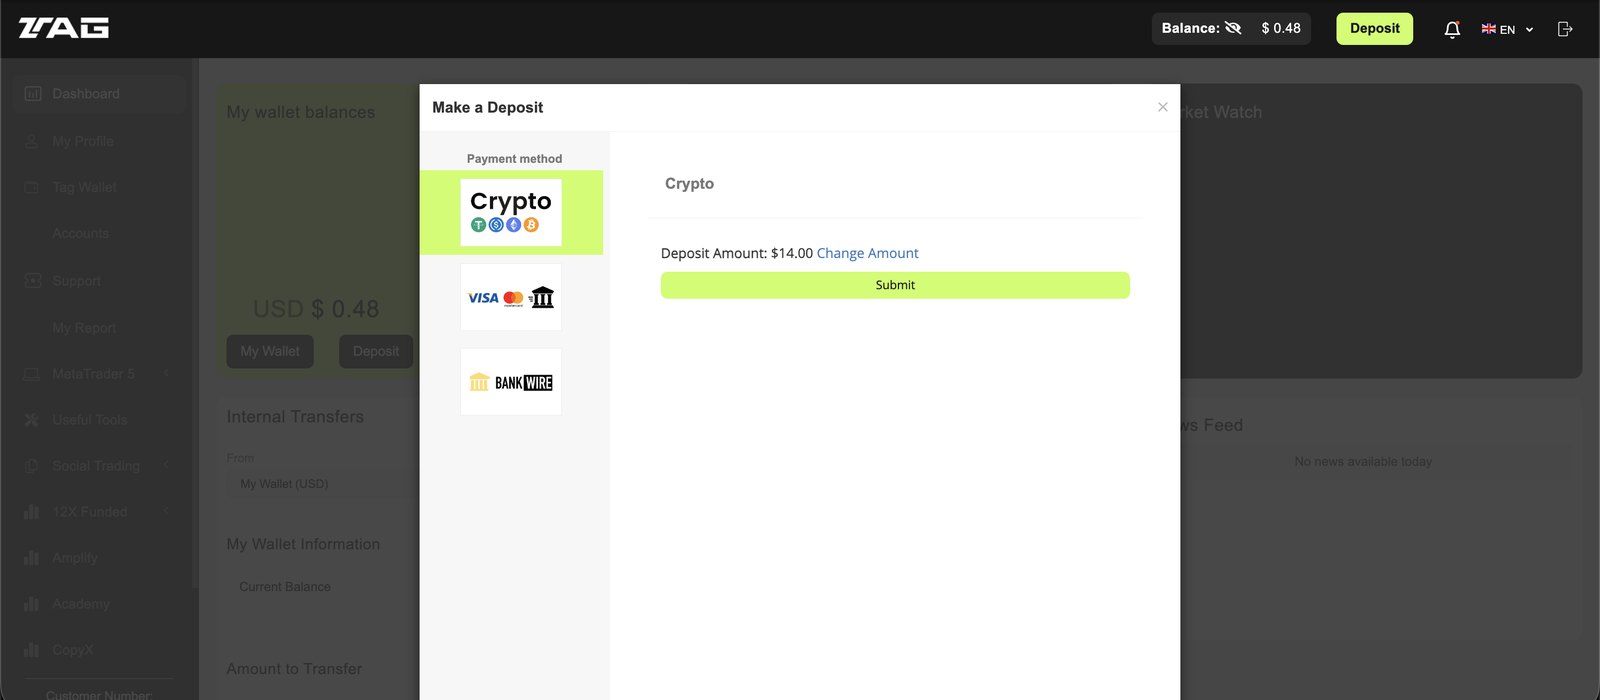
Three payment methods on the left. Pick Crypto and click Submit.
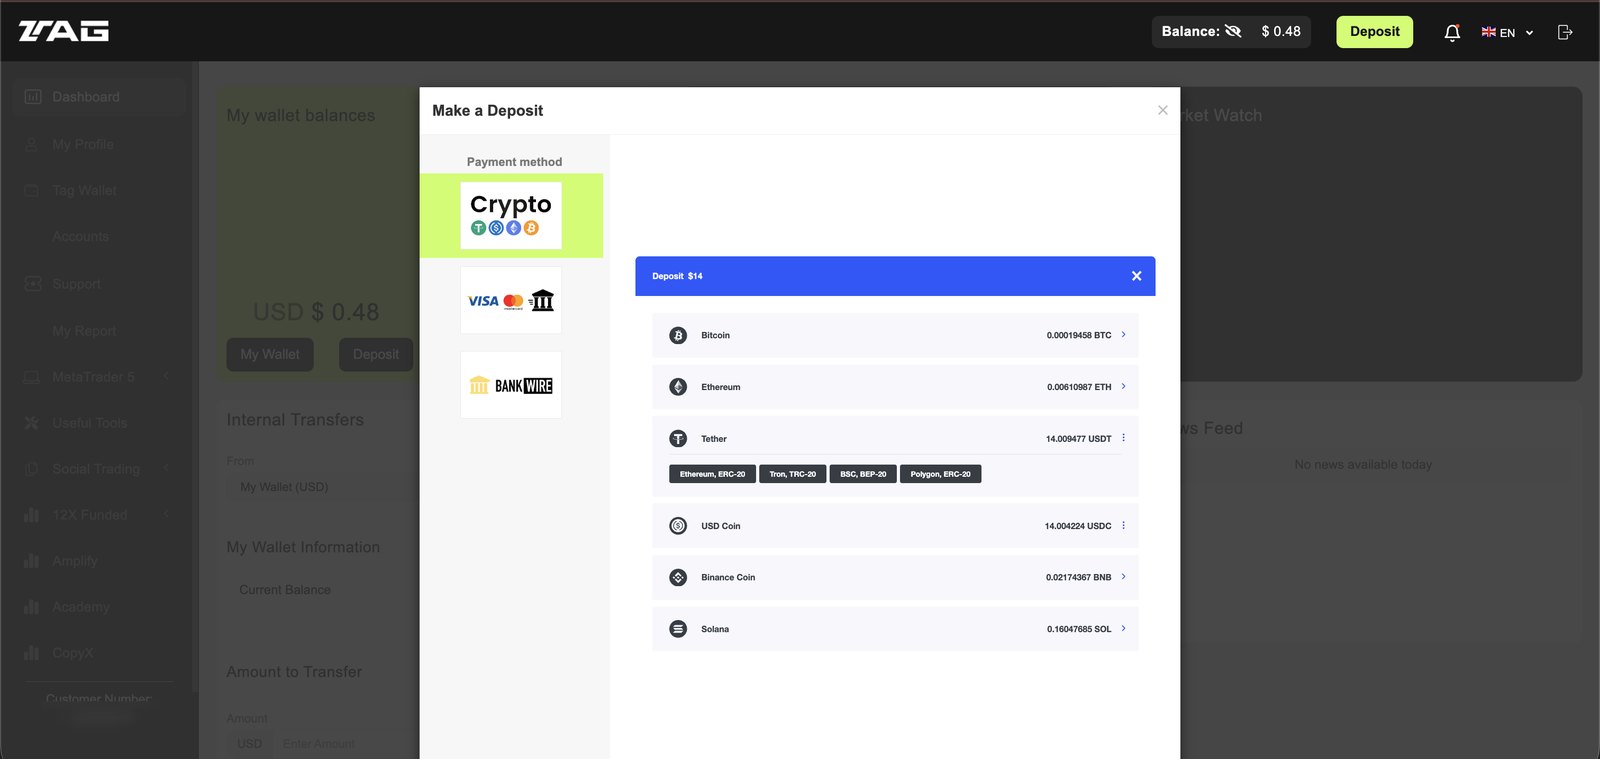
The list has Bitcoin, Ethereum, Tether, USD Coin and others. Pick Tether (USDT) and then the network. We use BSC, BEP-20, because its transaction fee is the smallest.
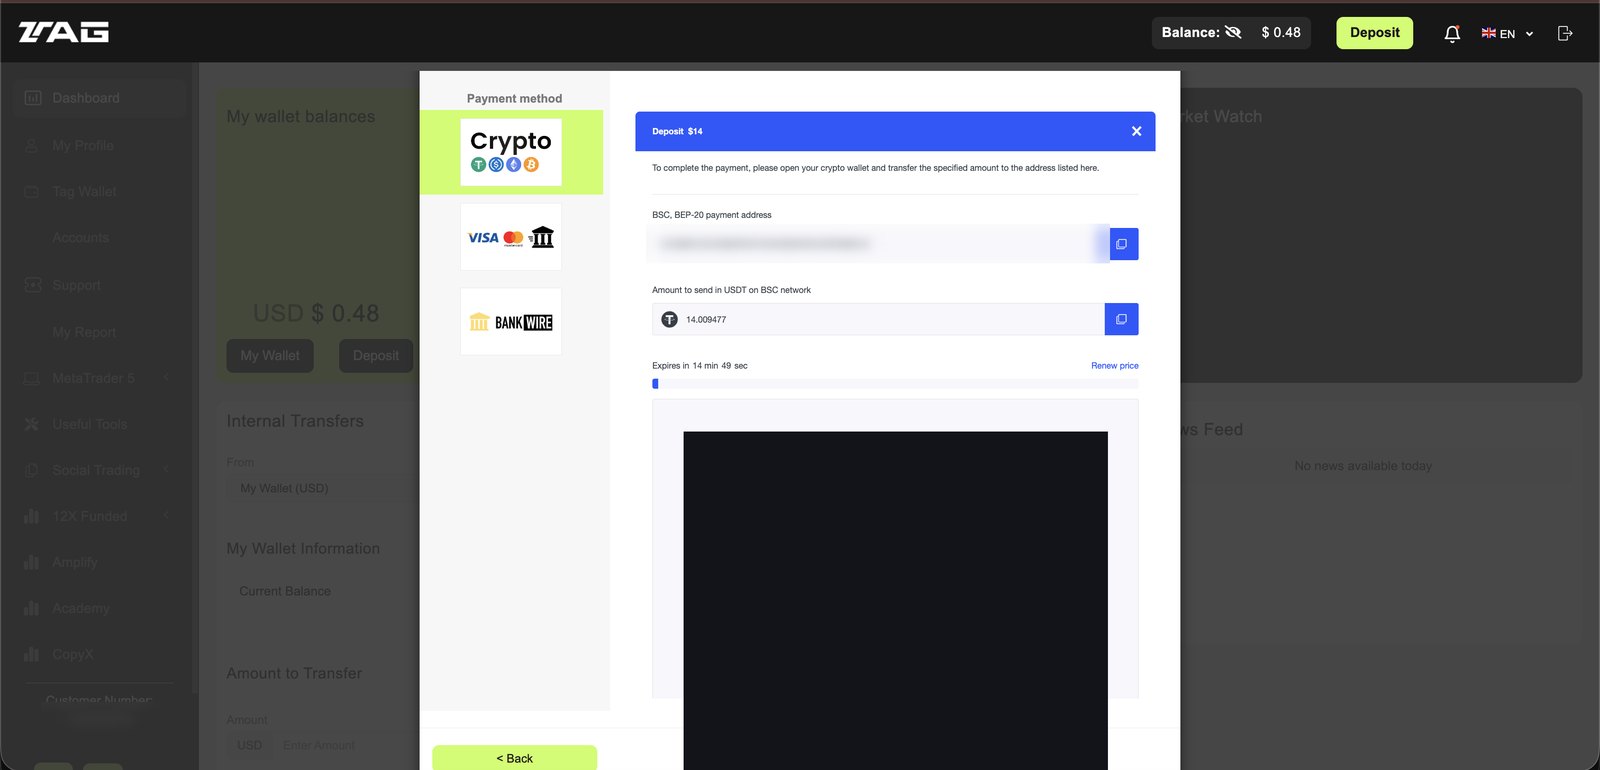
The screen shows the BEP-20 payment address, the exact USDT amount and a QR code. Copy both with the copy buttons.
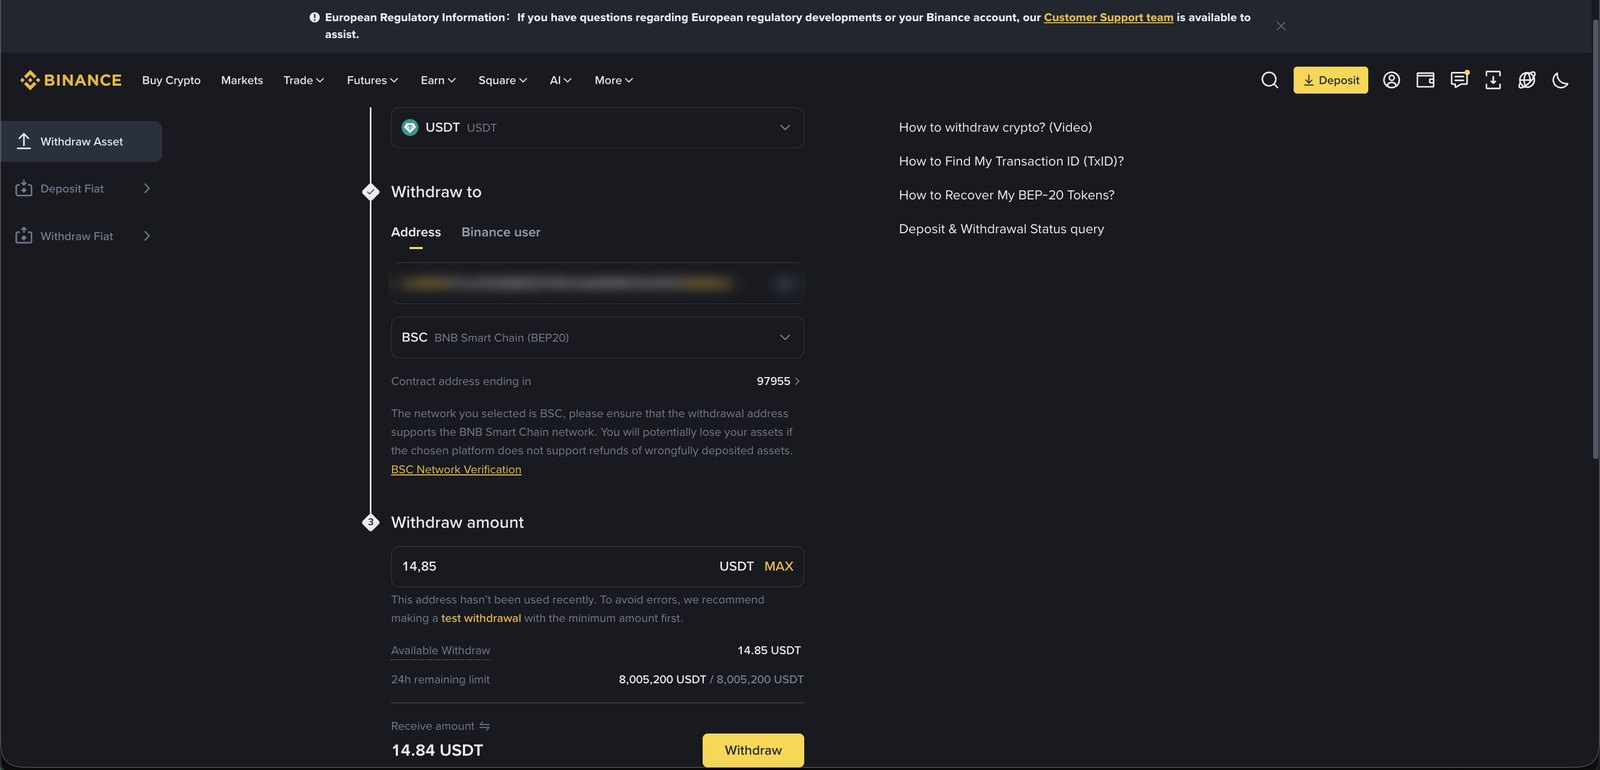
The withdrawal on the BEP-20 network and the security checks.
Go to Withdraw on Binance, pick USDT as the coin and paste the address you copied from TAG into the Address field. Set the network to BSC (BEP20) and enter the amount.
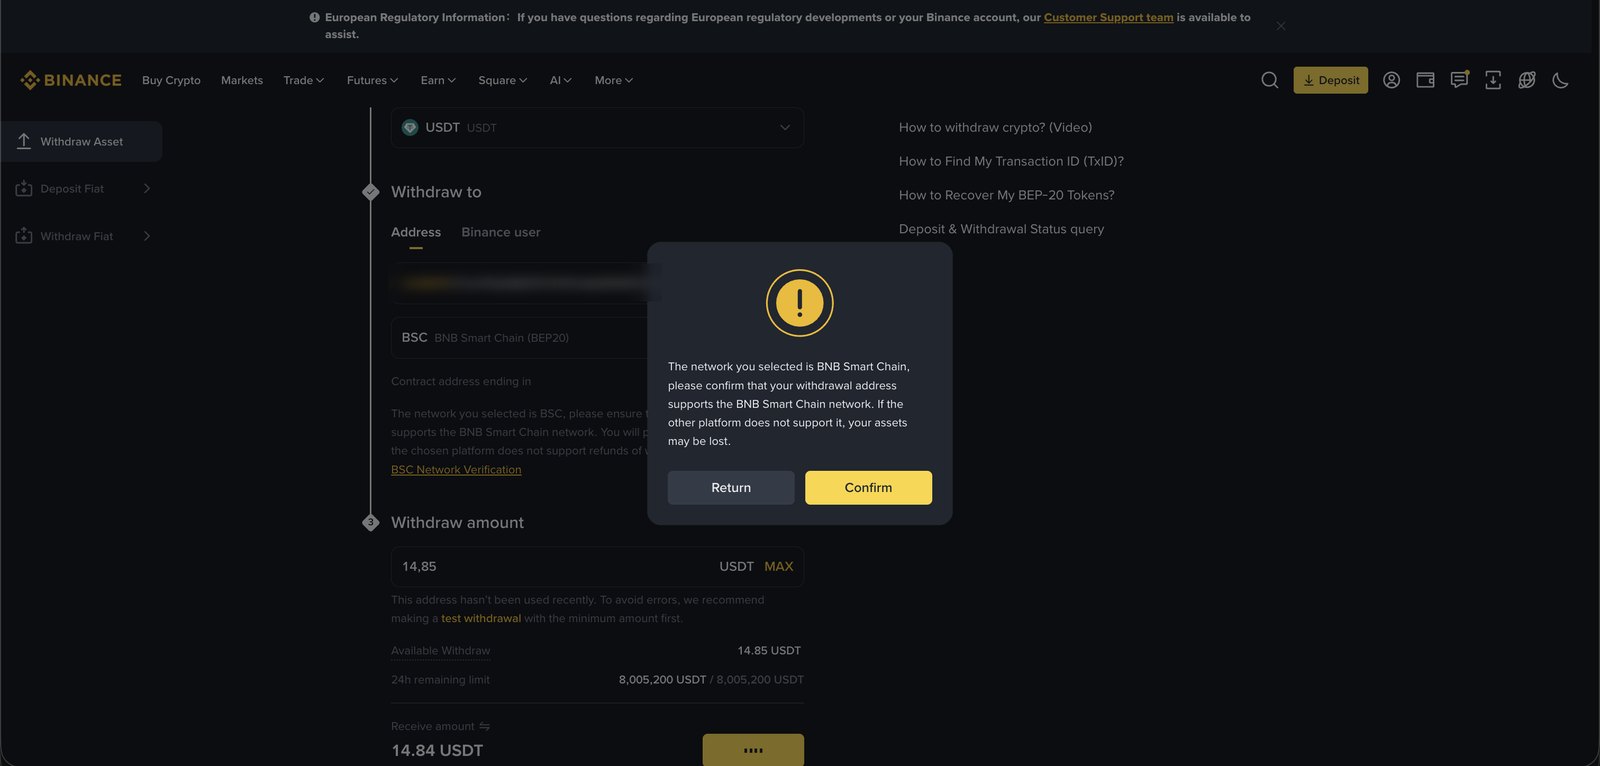
Binance asks once more whether the receiving platform supports BNB Smart Chain. If the address came from TAG under BEP-20, click Confirm.
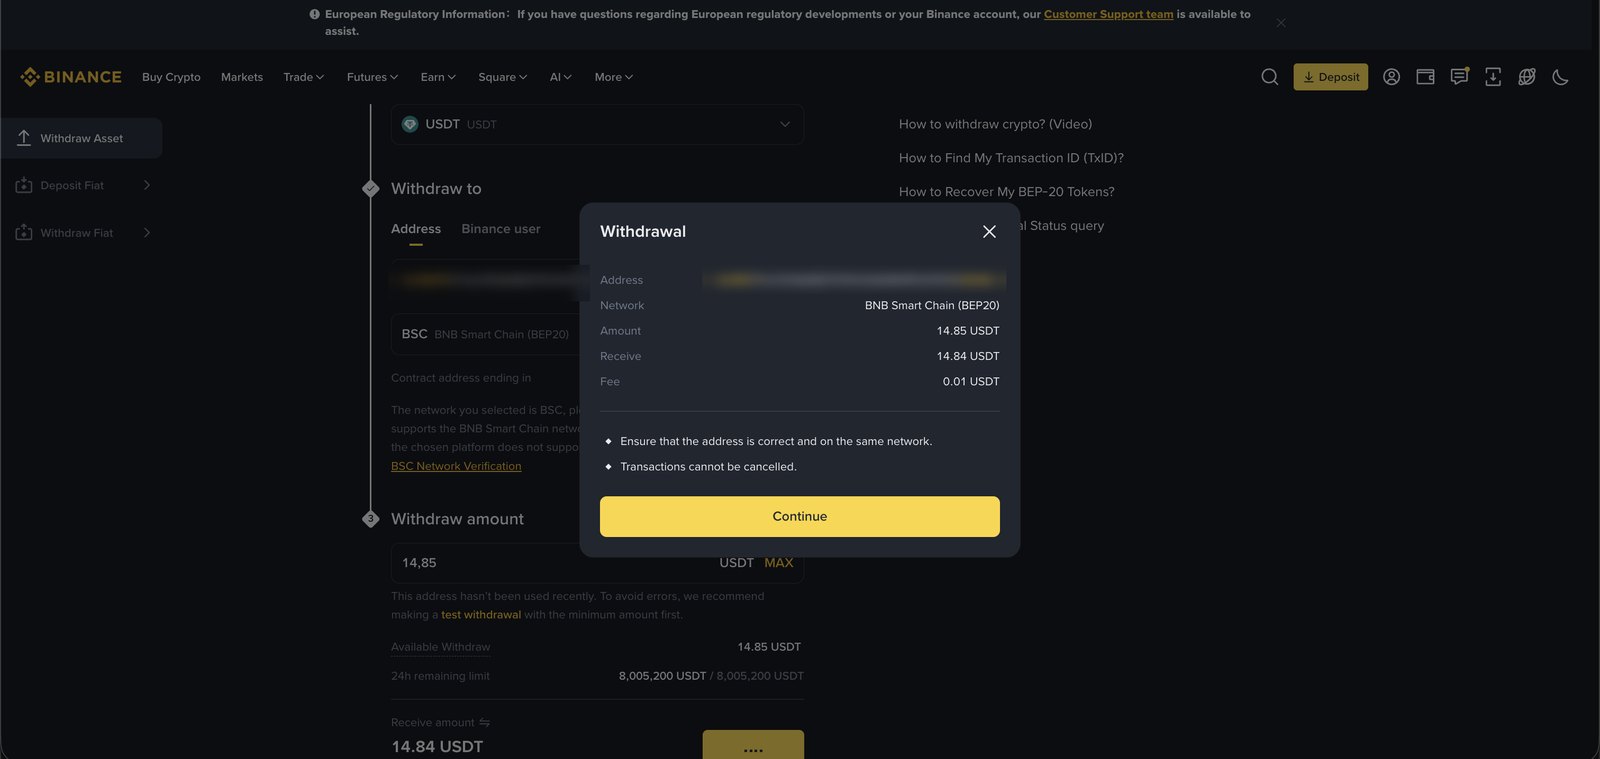
The window shows the address, the network, the amount sent, the amount received and the fee. Compare the start and the end of the address with the one from TAG. If it matches, click Continue.
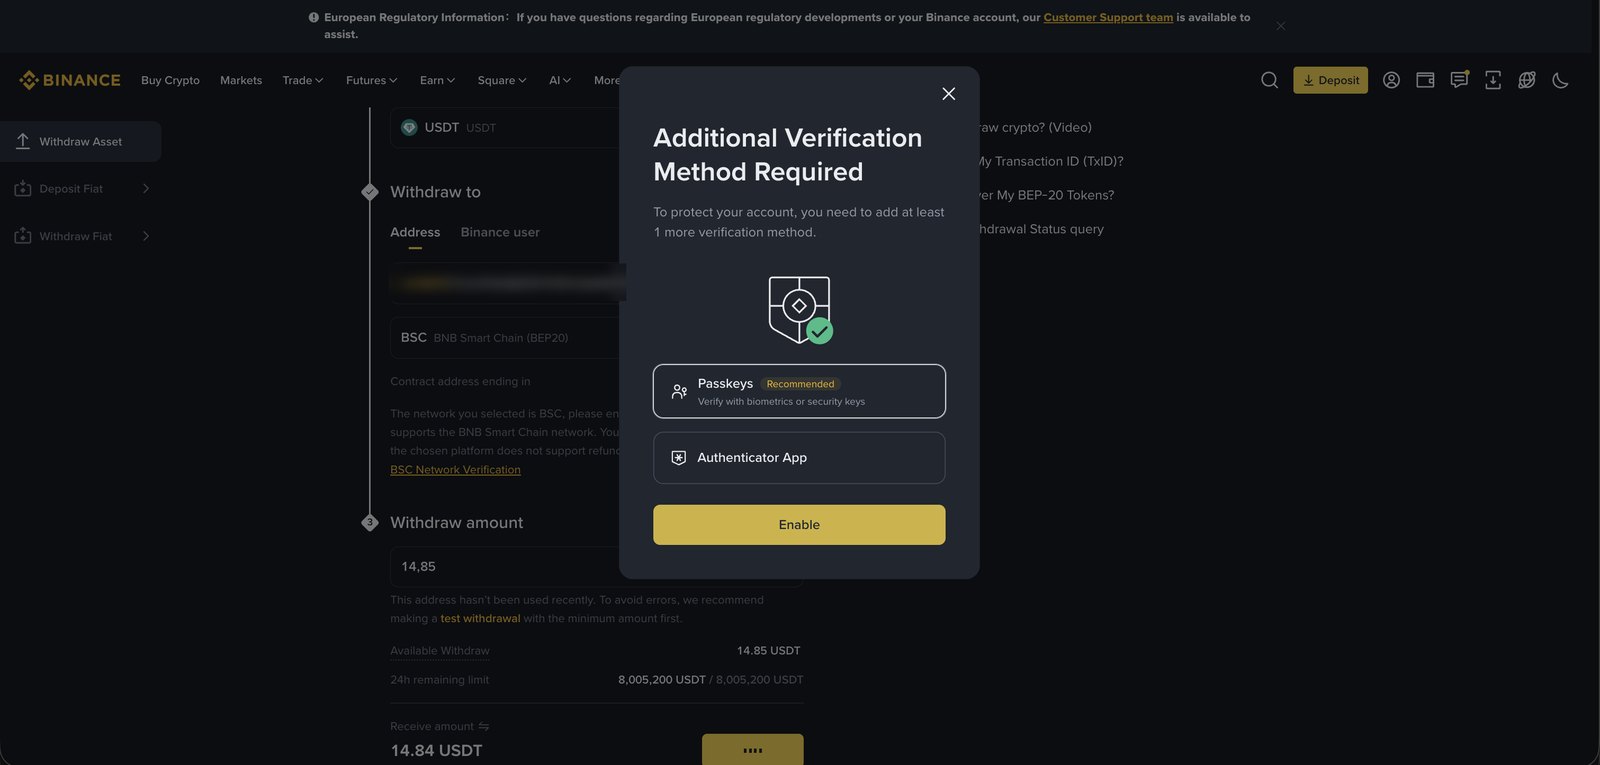
On your first withdrawal Binance requires an extra security method. Pick Passkeys (face or fingerprint) or an Authenticator App and click Enable. Setting it up takes a couple of minutes and stays in place for the future.
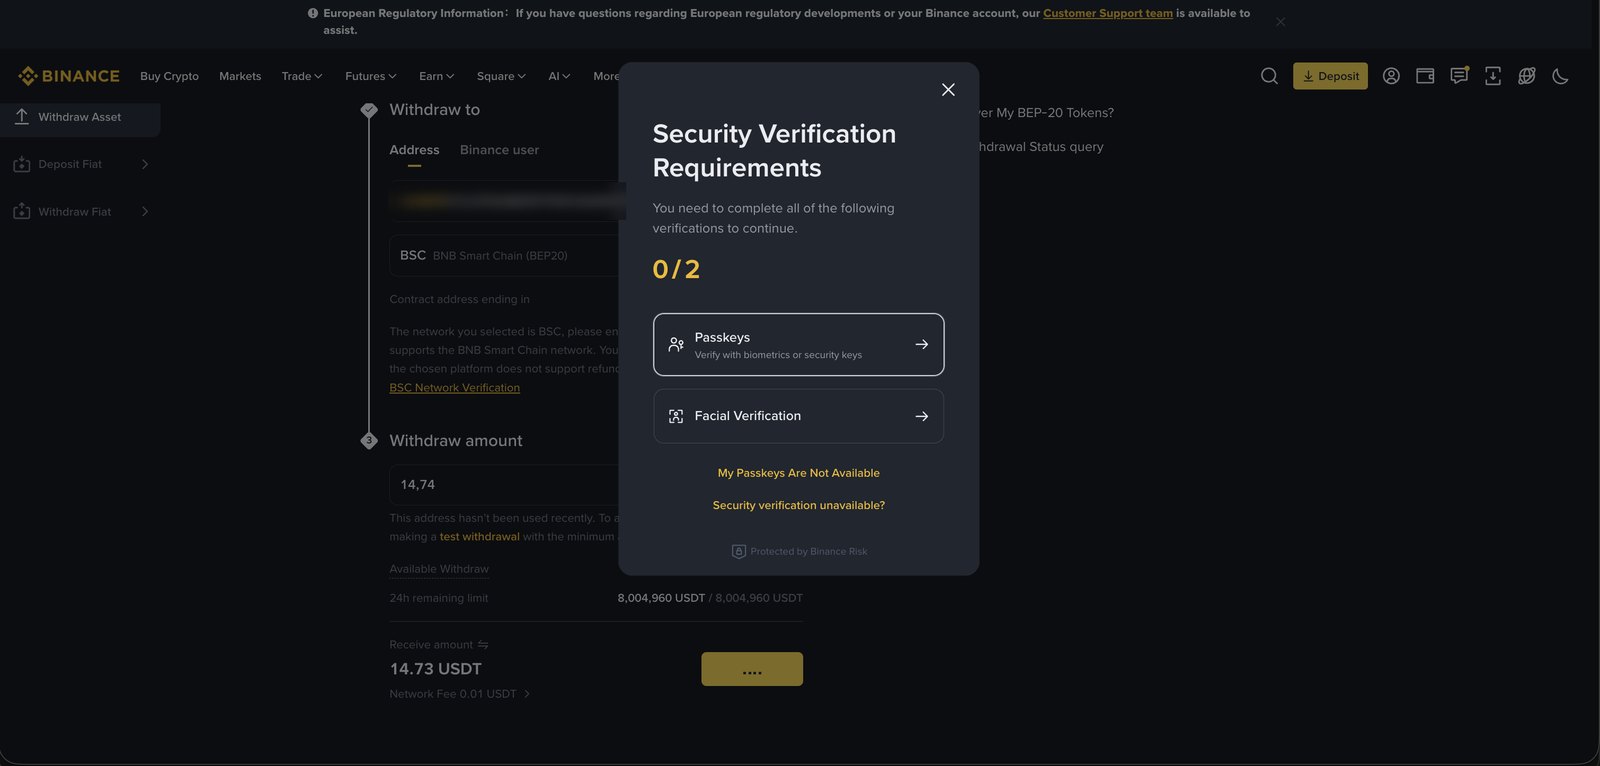
At the end Binance asks for two verifications, for example Passkeys and Facial Verification. Complete both, then confirm the withdrawal. On the BEP-20 network the USDT usually reaches your TAG Markets account within minutes and shows up as balance.
The other steps on the same path.
If a step is unclear or a transfer does not go through, tell the person who invited you.